From a Chrome browser, open the Collaborate panel and select the Share Content tab. Select Share Application/Screen. Select the Chrome Tab option. If you are on Windows, you can also select Entire Screen.
How to use Blackboard Collaborate launcher?
Sep 07, 2021 · Answer · 1) Go to the third icon (featuring an arrow) in the Collaborate panel (bottom left of the screen). · 2) Select Share Application/Screen. 5. Blackboard Collaborate: Sharing your screen – Sites. https://sites.reading.ac.uk/tel-support/2020/06/17/blackboard-collaborate-sharing-your-screen/ Blackboard Collaborate: Sharing your screen …
How to update your Blackboard Collaborate launcher?
Nov 25, 2021 · Answer. 1) Go to the third icon (featuring an arrow) in the Collaborate panel (bottom left of the screen). 2) Select Share Application/Screen. 3) Select Entire Screen. 4) If you have multiple screens, select the thumbnail of the screen you wish to share and click the Share button. 4. Blackboard Collaborate: Sharing your screen – Blackboard …
How do I share content?
May 18, 2021 · Answer. 1) Go to the third icon (featuring an arrow) in the Collaborate panel (bottom left of the screen). 2) Select Share Application/Screen. 3) Select Entire Screen. 4) If you have multiple screens, select the thumbnail of the screen you wish to share and click the Share button. 4. Blackboard Collaborate: Sharing your screen – Blackboard …
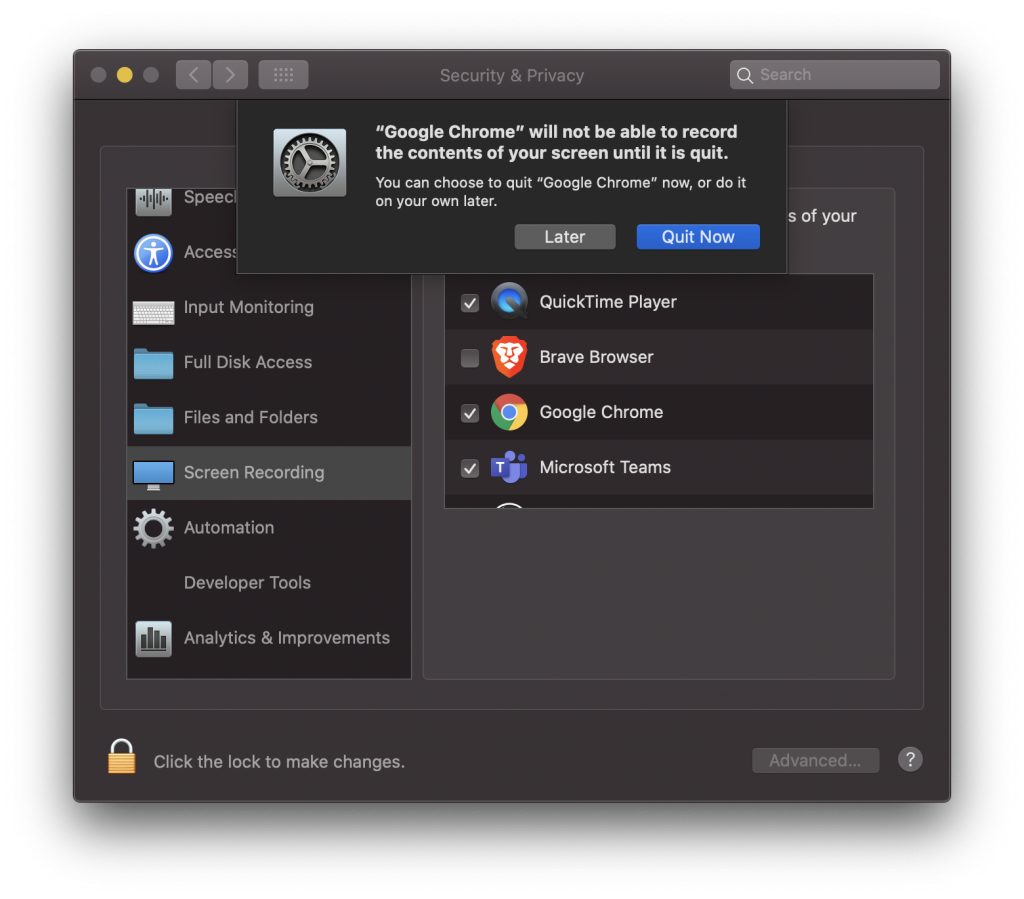
Why can't I share my screen on blackboard?
Click on the Privacy Tab and locate Screen Sharing on the left. Check the checkbox to allow Google Chrome or Firefox to share your screen. More information about this issue can be found at this link. You may need to reload your Collaborate session for the change to take effect.Sep 12, 2020
How do I allow others to share my screen on Blackboard Collaborate?
How can a student share their screen?Have all participants join your Bb Collaborate session.When ready to invite sharing, navigate to the "Attendees" tab of the "Collaborate" Panel to find the person to promote to "presenter."Select on the "Attendee" controls and select "Make presenter" from the list of options.More items...•Aug 27, 2021
How do I share my screen on Blackboard Ultra?
0:062:13Collaborate - Share Screen - YouTubeYouTubeStart of suggested clipEnd of suggested clipYou can also share some files for students to refer to share whiteboard select share blankMoreYou can also share some files for students to refer to share whiteboard select share blank whiteboard on the top right of this screen a blank white screen will appear in your collaborative session.
How do I share my ipad screen on Blackboard Collaborate?
In your Bb Collaborate session, navigate to the "Share Content" tab. Select on "Share Application/screen" in order to reveal the open applications on your computer (which can then be shared - you must have the application open for it to be available here.)Aug 27, 2021
Can you see everyone on Blackboard Collaborate?
Select the “Attendees” Icon from the Collaborate Panel to view the all of the participants in the session. Attendees have microphone and camera settings in the same location as your own (at the bottom of the screen).
Can you play a video on Blackboard Collaborate?
If you are using a Chrome browser, you can share video from sites like YouTube or open video and audio files you have on your desktop. Within your Blackboard Collaborate session, open the Collaborate panel and select the Share Content tab.Sep 28, 2020
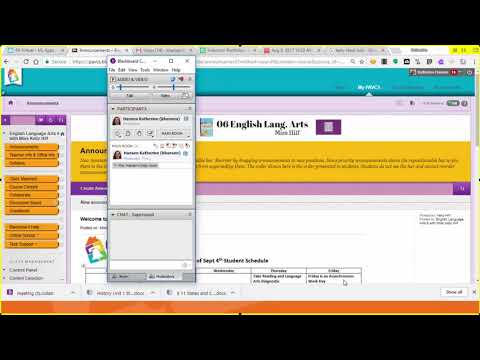
Accessing the Collaborate Panel
Zoom: Image of the Blackboard Collaborate interface with an arrow pointing to the Collaborate Panel button.
Selecting Content to Share
Blackboard will then ask you if you want to share your entire screen or a just an application. Click on the button that corresponds to your desired choice.
Installing the Desktop Sharing Extension
If you do not have the Desktop Sharing extension installed in your web browser, click the button to install it.
Confirm Installation of the Desktop Sharing Extension
Your web browser will then ask you to confirm the installation of the extension. Click the Add Extension button to install the extension. After installing the Extension, go back to the Collaborate Panel, click on the Share Content button and choose the Share Application button.
Sharing a Full Desktop
If you have more than one monitor, Blackboard will ask you which screen you wish to share, and then click the Share button to share your screen.
Sharing an Application or Window
A dialog box showing thumbnails of all open applications will appear on screen. Select the application you wish to share and then click the Share button.
Conducting and Concluding and Application Sharing Session
Zoom: Image of the collaborate window with an arrow pointing to the stop sharing button.
Share Entire Screen
This will share everything on your screen. If you have two monitors, you can choose which to share.
Share Application Window
This allows you to share an application – for instance Excel or Photoshop.
1. Have all participants join your Bb Collaborate session
This can be done via your Quercus class or via the Guest URL. Role changes are done in session, after attendees have joined the session.
2. When ready to invite sharing, navigate to the "Attendees" tab of the "Collaborate" Panel
Select on the Collaborate Panel to expand it. (Note: If you panel is collapsed, it will be marked with an "arrow" icon.)
3. Select on the "Attendee" controls and select "Make presenter" from the list of options
Expand the "attendee controls" menu (indicated by the three dots) to show all options available to you (as the moderator).
4. Confirm new role in session
Student 1 now appears under the category, "Presenter." Role change has been successful.
5. Verbally direct the student to begin sharing their screen via the "Share Content" tab
After you've enabled their ability to share, you might want to encourage them to do so. They might not even realize that their status has been changed, to allow for this functionality, so it is always recommended to walk everyone through what you are doing and how you intend for it to be used within the session.
6. Revert "Presenter" back to "Participant" (when sharing is complete)
Upon completion of the task, you might want to revert the person's status back to "Participant." You do this by reversing what you did above:
Popular Posts:
- 1. what is blackboard
- 2. how to delete a discussion post on blackboard
- 3. how to unsubmit an assignment on blackboard
- 4. how to delete a thread on blackboard
- 5. how to resubmit an assignment in blackboard
- 6. how to double space on blackboard
- 7. how to use blackboard
- 8. how to edit a discussion post on blackboard
- 9. how to submit on blackboard
- 10. how to delete a submission on blackboard