Add Blackboard Collaborate Ultra
Video - Adding Blackboard Collaborate Ultra to your Course (Captioned) - (Video Length: 00:03:08)
- Go into the course in Blackboard where you want to add Blackboard Collaborate.
- In the left navigation menu, locate and click the " + " in the upper left corner. Then click Tool Link.
- Next to Type, click the drop down menu and select Blackboard Collaborate Ultra.
- Give the Blackboard Collaborate Ultra Tool link a name.Check the box next to Available to Users.Then click Submit.
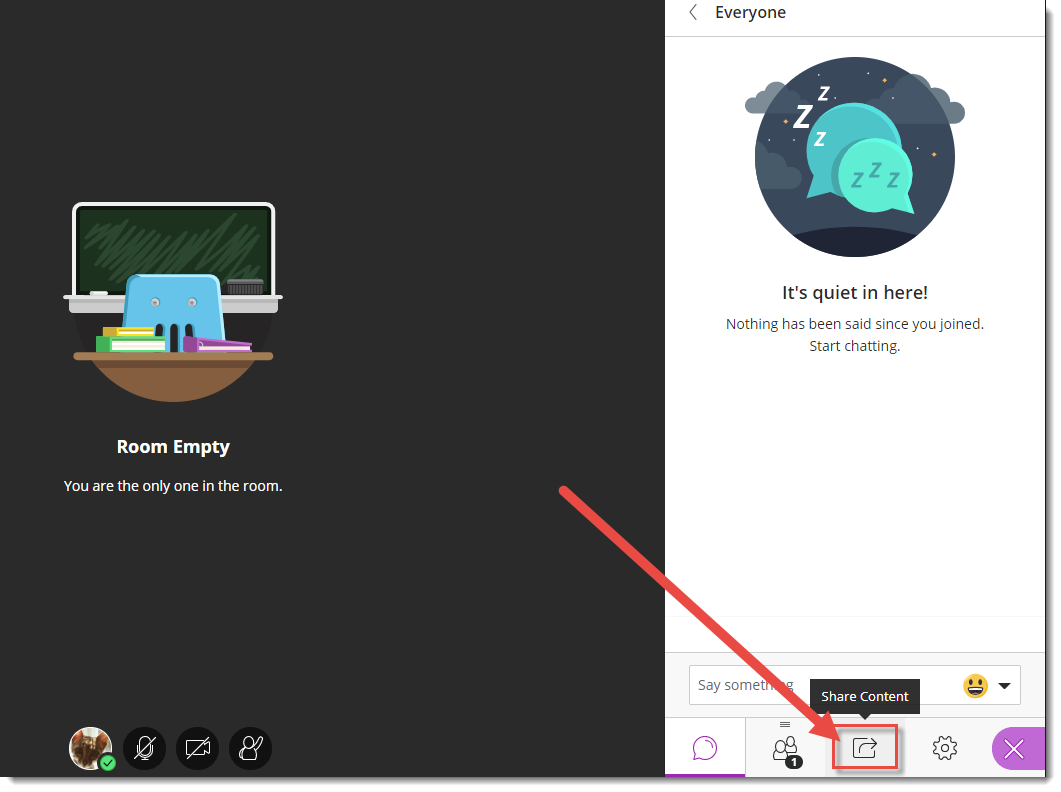
If you are using the Blackboard Collaborate Ultra tool, you can add Blackboard Collaborate directly to your course content.
- From the content area select Tools and More Tools.
- Select Blackboard Collaborate Ultra. By default the link name is Blackboard Collaborate Ultra. ...
- Select Submit.
How to launch Blackboard Collaborate?
Jan 14, 2019 · To add Collaborate Ultra to your course menu, please follow the following steps: Log into Blackboard. Select the course which needs Collaborate. Select the + above the course menu. Type Collaborate Ultra in the Name field. Click on the drop-down in the tool field and select Collaborate ultra. Click Submit.
How to submit a paper using Blackboard?
Type “Blackboard Collaborate Ultra” for the tool name and select “Blackboard Collaborate Ultra from the list of tools provided in the drop-down. Page | 3
How to launch Collaborate Ultra?
May 11, 2021 · Video - Adding Blackboard Collaborate Ultra to your Course (Captioned) - (Video Length: 00:03:08) 1. Go into the course in Blackboard where you want to add Blackboard Collaborate. 2. In the left navigation menu, locate and click the " + " in the upper left corner. Then click Tool Link. 3. Next to ...
How to put your course on Blackboard?
Remove guest access. From the content area select Tools and More Tools. Select Blackboard Collaborate Ultra. By default the link name is Blackboard Collaborate Ultra. When you add Blackboard Collaborate to your course ... Select Submit.
How do I install Blackboard Collaborate?
Blackboard Collaborate: How to create a basic Collaborate room.Login to Blackboard and enter into any section of the course you want to build your Blackboard Collaborate session in.Click on the Tools button on the left hand main navigation menu.Locate and click on Blackboard Collaborate.Click Create Session.More items...•Dec 24, 2021
How do students access Blackboard Collaborate ultra session?
ULTRA: Access Blackboard Collaborate from your course You can also find Collaborate sessions under the course Details & Actions. ... Select Join session from the Details & Actions menu on the Course Content page. If there is more than one session, you can select the one you want to join from the menu.
How do you use Blackboard Collaborate Ultra for teachers?
0:154:41Blackboard Collaborate Instructions for Faculty - YouTubeYouTubeStart of suggested clipEnd of suggested clipFirst log into blackboard. And enter your specific course once in your course scroll down to courseMoreFirst log into blackboard. And enter your specific course once in your course scroll down to course tools and click blackboard collaborate ultra. Next click either of the create session buttons.
How do I access Blackboard Collaborate on Blackboard?
Access a course, tap Collaborate under Course Materials, and select a session. The Course Room is a default session in Collaborate Ultra. If your instructor disables this room, it will appear in the app as Locked. Tap an available session to launch it in your device's mobile browser.
How to view collaborative sessions?
Collaborate sessions open in a new window or tab depending on your browser settings. Go to the course tab or window, if you want to view the course content during a session.
How long does a session link last?
You are not able to use the link to join session again or share your link with another user. Session links expire after 5 minutes. If offered by your institution, you can use the telephony feature to communicate with other users. To learn more, see Join by Collaborate Teleconference.
What are the details of an event?
Event details include the name, date, and time of a session. Decide if the session is open ended or recurring. Make the name something meaningful for your attendees so they know what the session is for.
Can you have multiple sessions at the same time?
If you want to run multiple sessions at the same time for students to use as virtual study room, for example, you can create multiple sessions for the different groups to join. Course group tool: If it's for long term group work, create groups in your course and give access to a Collaborate session.
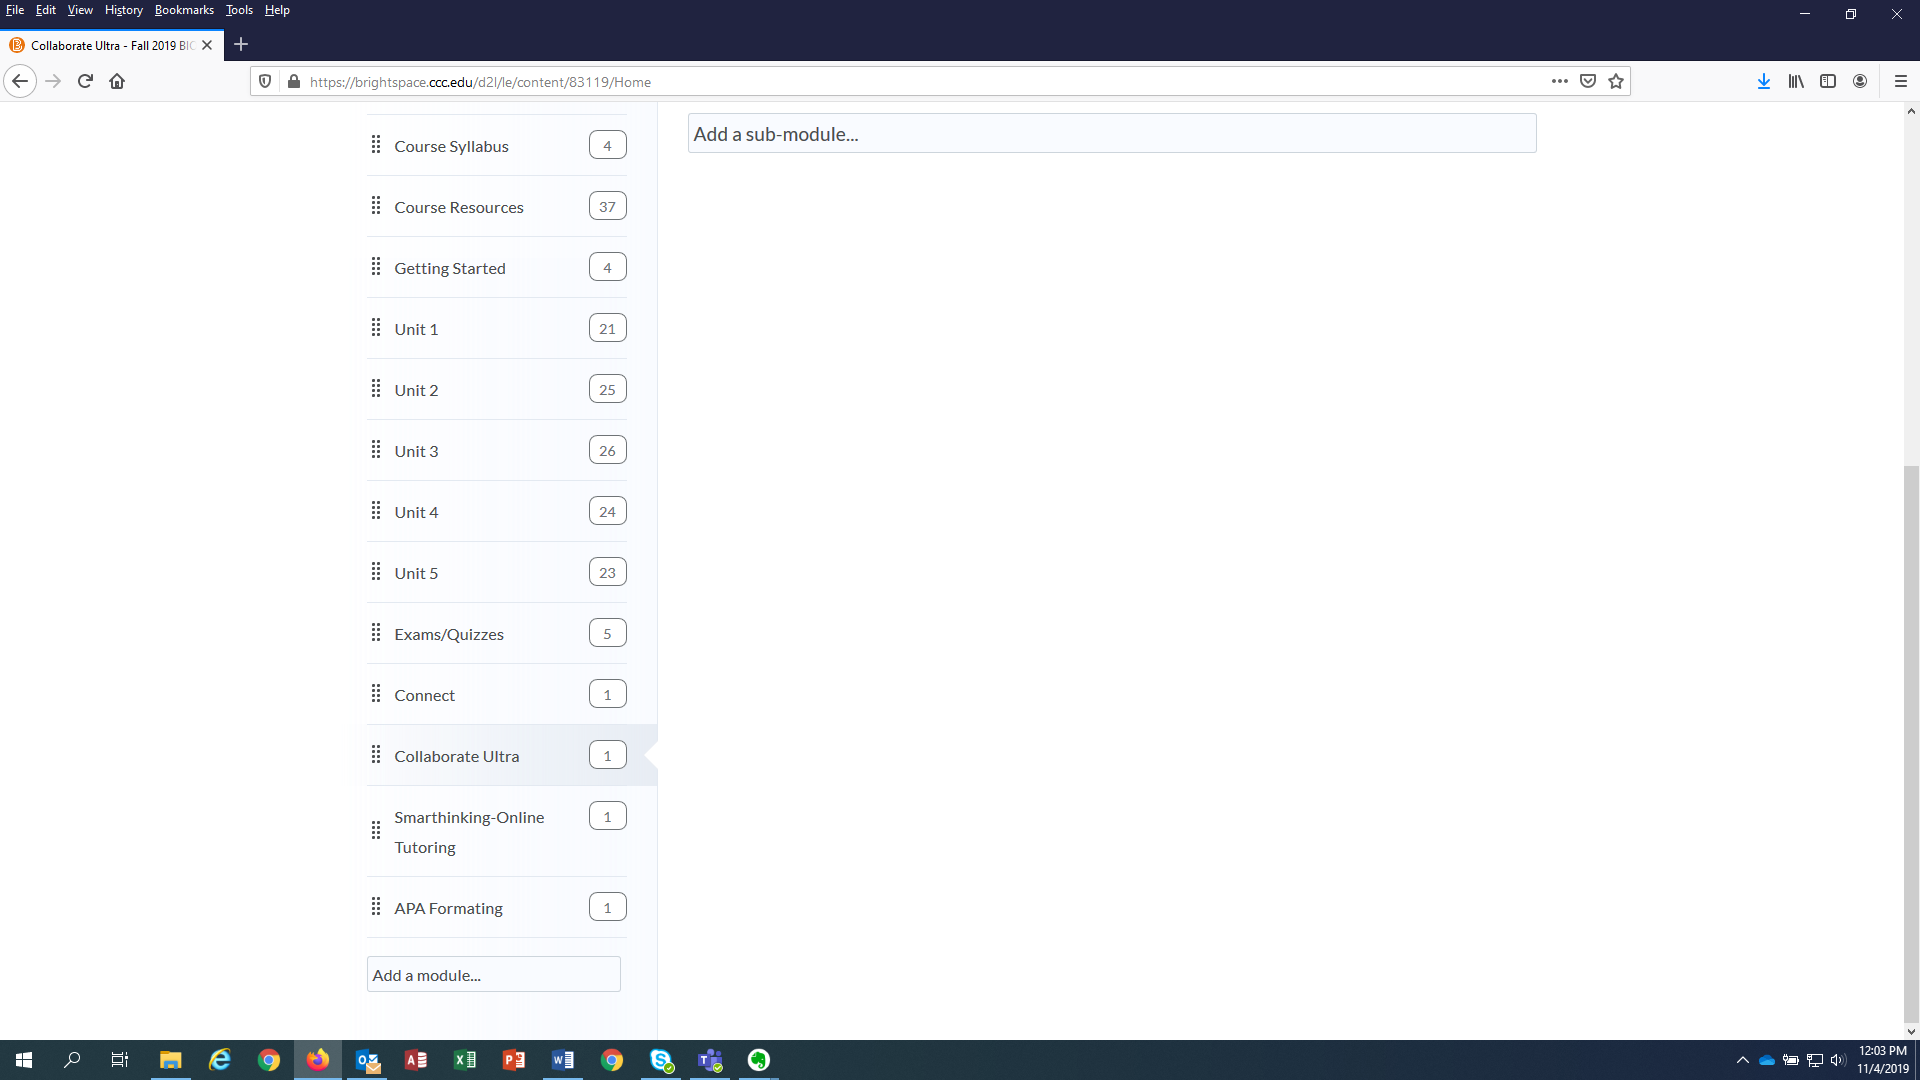
Option A: Creating a Collaborate Ultra Link in the Course Menu
If you want to add a link to Collaborate Ultra directly to your course menu as shown above, please follow the directions below.
Option B: Creating a Collaborate Ultra Link in a Content Area
If you want to add a link to Collaborate Ultra in a content area as shown above, please follow the directions below.
Setting the Collaborate Ultra Link Options
On the Create Link: Blackboard Ultra screen, you can set a number of options as described below:
How to delete attendance in Ultra Gradebook?
In the Ultra gradebook, you can delete attendance if no attendance records exist. In grid view, select the Attendance column heading to open the menu and select Delete. In list view, access the attendance row's menu to select Delete.
Can you delete attendance columns in a course?
You can delete attendance columns added during a course copy.
Can you mark attendance in a meeting?
In the Meeting view, you can mark each student's attendance. You can also use the menu in a status's heading to mark all students present or absent. Then, you can change individual students' statuses or clear all marks. Your work is saved as you go.
Can you add more than one meeting to a class?
In the Overall view, you can add more than one meeting for attendance on a day. For example, if your class met for a field trip after your regularly scheduled class, you can add a meeting and mark who was present. Select the plus icon next to an existing meeting's date to add a new meeting.
Can you exempt a meeting that no longer requires attendance?
In the Meeting or Overall view, you can exempt a meeting that no longer requires an attendance grade. Students' overall attendance grades update to not include the exempted meeting, even if you've marked some or all student cells. You can also clear the exemption in both views.
Is attendance included in a course export?
Attendance data isn't included in a course export or when you copy a course into a new or existing course. The attendance option is removed from the copy and export options.
Can you copy attendance data into a new course?
If you copy a course with attendance data into a new course or an existing course with no attendance data, the source course's attendance data is not copied. One attendance grade column without data is added that you can delete.
Popular Posts:
- 1. blackboard gdpr
- 2. blackboard background onenote
- 3. suny new palt blackboard
- 4. blackboard change links
- 5. how to change weights on blackboard
- 6. blackboard for the wall
- 7. blackboard collaborate ultra freeze
- 8. blackboard grade placeholders
- 9. epcc blackboard forgot usernam
- 10. safeassign online