To modify the properties or membership of a single group, navigate to the Groups page. Click the contextual arrow next to the name of the group, and select Edit Group. Make any desired changes to the group, and click the Submit button when finished.
How do I edit all the groups in a group set?
Log into Blackboard and go to the Control Panel. Click on Users and Groups. Then click on Groups. Editing Group Set Properties You will now be taken to the Groupslist.
How do I create and manage course groups?
ULTRA: Manage groups and membership. After you create a group or a group set, you can add or delete individual groups and manage student membership. You can also edit group names and send messages to your groups to kick off collaboration! More on managing individual groups. More on managing student membership.
How do I edit a self-enrollment group?
From the Control Panel, click on Users and Groups, then click on Groups. Identify which group set to be edited and click on the drop down menu. Click Edit Group Set Properties from the list. Make the necessary changes. These changes will apply to all the groups in the set. NOTE: Changes will overwrite any personalization made to individual groups within the group set.
How do I create a group in the control panel?
Select a heading to sort your groups or the number of members in ascending or descending order. Show or hide the groups in a group set. Open a group set's menu to edit or delete the group. View the number of members in each group out of the total number of students in the course.
How do I edit a group in Blackboard?
Locate the group you wish to edit, hover over the group name and click the chevron next to the group and select Edit Group from the menu.Nov 15, 2018
How do I add a group to a group set in Blackboard?
After you select the students, open the menu next to one of their names and select Create a new group. You can also move multiple students to a group listed in the menu. Edit the group name if you want to change the default naming. Optionally, provide a group description that also appears to members of that group.
What is a group set in Blackboard?
Group Set – This option allows you to automatically create multiple group areas at a time. i. Random Enroll – Blackboard will randomly assign students to groups based on criteria the faculty member selects.
What is the difference between a single group and a group set in Blackboard?
Faculty can create a Single Group with either manual enroll or a self-enroll option or they can create a Group Set. A Group Set allows for several enrollment options: self-enrollment, manual enrollment or random enrollment. Group members also have access to a variety of collaboration tools that faculty can enable.
How do I create a group in Blackboard?
0:132:03Create Course Groups in the Ultra Course View - YouTubeYouTubeStart of suggested clipEnd of suggested clipThe first time you create a course group select creating manage groups in the details in actionMoreThe first time you create a course group select creating manage groups in the details in action section under course groups and the create group set page opens on the create.
How do I make multiple groups in Blackboard?
0:277:28Creating Groups in Blackboard - YouTubeYouTubeStart of suggested clipEnd of suggested clipClick users and groups to expand its options. Then click the group's link click the heighth courseMoreClick users and groups to expand its options. Then click the group's link click the heighth course menu arrow to increase the viewable area of the group's. Page. You can create groups individually.
How do I make a small group in Blackboard?
Creating Group SetsOn the Control Panel, under Users and Groups, select Groups.On the Groups page, click Create on the Action Bar to access the drop-down list.Select Self, Random, or Manual Enroll.On the Create Group Set page, enter a Name and optional Description.More items...
How do I remove myself from a blackboard group?
Sometimes you need to remove members from a course group. This can only be done by course instructors and Blackboard administrators. Students cannot remove themselves from a group.
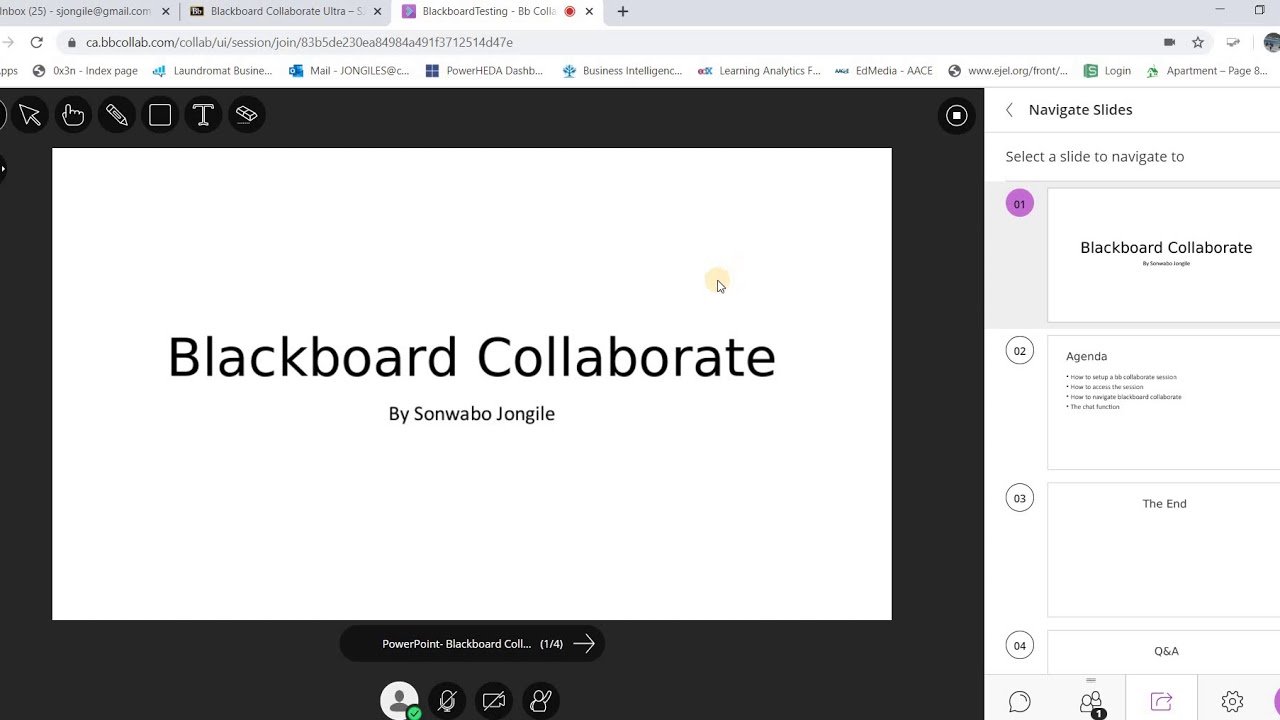
What can you do with a group set in Collaborate?
You can also create groups for activities other than graded work, such as volunteering or field trips. You can also create breakout groups in Collaborate so students can hold virtual meetings with their group members.
Why is collaborative learning important?
Studies show that when students work as a team, they develop positive attitudes, solve problems more effectively, and experience a greater sense of accomplishment .
Can you reuse a group set?
Reuse groups. You can reuse an existing course group or group set. If you make changes to a group set you've reused, those changes affect any group assignments and discussions based on that group set. In the Group students menu, select a title from the Reuse groups section.
Do group sets appear on Ultra Course View?
Groups not part of a group set don' t appear on the Course Groups page. Also, self-enroll signup sheets don't convert.
Can students join groups after enrollment period ends?
When the enrollment period ends, students can no longer join groups, and they’re enrolled automatically. If you added a preview user, that user is also enrolled automatically in a group. You can remove the preview user before or after you create self-enrollment groups.
Editing Group Set Memberships
You will now be taken to the Groups list. To edit the properties for a group set, locate the name of the group set you wish to edit in the Group Set column and hover over the name of the set and click the chevron button that appears to the right of the group set name. From the menu that appears, select the item labeled Edit Group Set Membership.
Managing Group Set Enrollments
You will now see a screen labeled Edit Group Set Enrollments that will allow you to add members to each group within the set.
What is a group member?
All group members are moderators in group collaboration sessions, can manage sessions, and access all of the available tools. File Exchange. Group members and instructors can share files in this area. All members can add and delete files, regardless of who added them.
What is a group in a course?
Groups. Instructors can create groups of students within courses. Groups usually consist of a small number of students for study groups or projects . These groups have their own collaboration areas in the course so that they can communicate and share files.
Can you view a group journal in a group?
In the group area, all members of a group can view each other's entries. Only group members and instructors can view a group journal. Instructors can choose to grade group journals. All group members receive the same grade. Group Task. Group members can create tasks for distribution to all group members.
Can a group member create their own forum?
Group members can create and manage their own forums and discuss topics with just the group members. Instructors can choose to grade group discussions, but each member is graded individually. Group Journal. In the group area, all members of a group can view each other's entries.
Can you comment on a group blog?
In the group area, all members of a group can create entries for the same blog and build on each entry. All course members can read and comment on a group blog, but they can't make posts unless they are members of the group. Instructors can choose to grade group blogs.
Can you share files with a group?
Exchange files with a group. With file exchange, you can share files with other members of your group, including your instructor. You can't create folders in file exchange. With your group, decide how you want to name files so that they are easier to locate in a long list.
What happens when you delete a group in a group set?
If you add or delete a group in a group set that you used to create a group assignment, the assignment's groups are updated. Edits to group titles and descriptions also affect the assignment.
Why can't students access assignments in groups?
Students who aren't assigned to a group won't have access to the group assignment because it won't appear on their Course Content pages. If you ask students to self-enroll in a group, they can't access the assignment until they join a group. You can divide your students among groups in these ways: Custom.
How many students can you randomly assign in a group?
Randomly assign. Students are randomly assigned to the number of groups you choose. You need at least four students so the system can randomly assign students to at least two groups. In the Group students menu, select Randomly assign. In the Number of groups menu, select how many groups to create.
Why is collaborative learning important?
Studies show that when students work as a team, they develop positive attitudes, solve problems more effectively, and experience a greater sense of accomplishment .
Do grades change when you move students to different groups?
When you move students who have grades to different groups, their grades move with them, but their work doesn’t. These new group members keep their existing grades. Their grades won’t apply to the rest of the group. However, if you haven't graded the group work, the new members' grades will update.
Can you reuse a group set?
You can reuse groups from an existing group assessment, discussion, or course group set. Titles for your existing course group sets start with "Group Set.". If you reuse a group set and make changes to the group set, those changes affect the group assignment.
Can you change your grades before posting?
You can change individual members’ grades before you post the grades. More on assigning a different grade to group. On the groups page, you can create as many groups as you want, with any number of students in each group. You can also create new groups or remove groups based on how many you want for this assignment.
Benefits of using wikis
Wikis can help course members build a shared repository of knowledge. As the knowledge base grows over time, you can expect the wiki to have some degree of seriousness and permanence.
When should you use wikis?
You can use wikis as course content or graded assignments for these types of activities:
Create a wiki topic
To get started, you need to create a wiki topic in your course. Your students and other course members can add pages to that topic.
Wiki topic page
A wiki topic page is the home page where all other wiki pages are collected. The home page is automatically displayed first when a student visits the wiki.
Wikis listing page
After you create a wiki, the wiki topics appear in alphabetical order on the Wikis listing page. Select a column title to sort the contents.
Wiki pages
Each newly created course or group wiki requires a home page. When you access a new wiki topic for the first time, you're prompted to create a home page. The home page always appears first in the wiki page list and the content appears when someone navigates to the wiki. Because the home page is first, you may want to add instructions here.
Watch a video about wiki pages
The following narrated video provides a visual and auditory |representation of some of the information included on this page. For a detailed description of what is portrayed in the video,
Popular Posts:
- 1. what is blackboard
- 2. how to delete a discussion post on blackboard
- 3. how to unsubmit an assignment on blackboard
- 4. how to delete a thread on blackboard
- 5. how to resubmit an assignment in blackboard
- 6. how to double space on blackboard
- 7. how to use blackboard
- 8. how to edit a discussion post on blackboard
- 9. how to submit on blackboard
- 10. how to delete a submission on blackboard