Full Answer
How do I share content in Blackboard Collaborate?
Enter the terms you wish to search for. GW Home; GW Links. About GW. GW Overview; Leadership; Visiting Campus; Community; Government
How to share course syllabus and assignments from OneDrive to Blackboard?
Use Select Specific Users to browse for a username. Select Submit to add them to the recipient list. Use Select Group of Users to choose a group. Select Course, Course Group, Organization or Organization Group. Choose a group by selecting the appropriate check boxes. Select Submit to add them to the recipient list.
How do I share a OneDrive file in Blackboard?
Mar 24, 2022 · Share Course Files from OneDrive to Blackboard 1. Upload course files to OneDrive. ( See instructions for getting started with One Drive) 2. Select the file you want to share, and click Copy link . 3. Click the right arrow to show the Link settings. 4. In this area, you will want to make the ...
How to create a web link in Blackboard?
Sep 23, 2021 · Select the purple tab in the lower right corner of your Blackboard Collaborate Ultra session to open the Collaborate Panel. 2. Select the Share Content tab at the bottom of the Collaborate Panel. 3. Select Breakout Groups to put your students into their respective groups. Select Start when you are finished.
How do I attach a file to a student on blackboard?
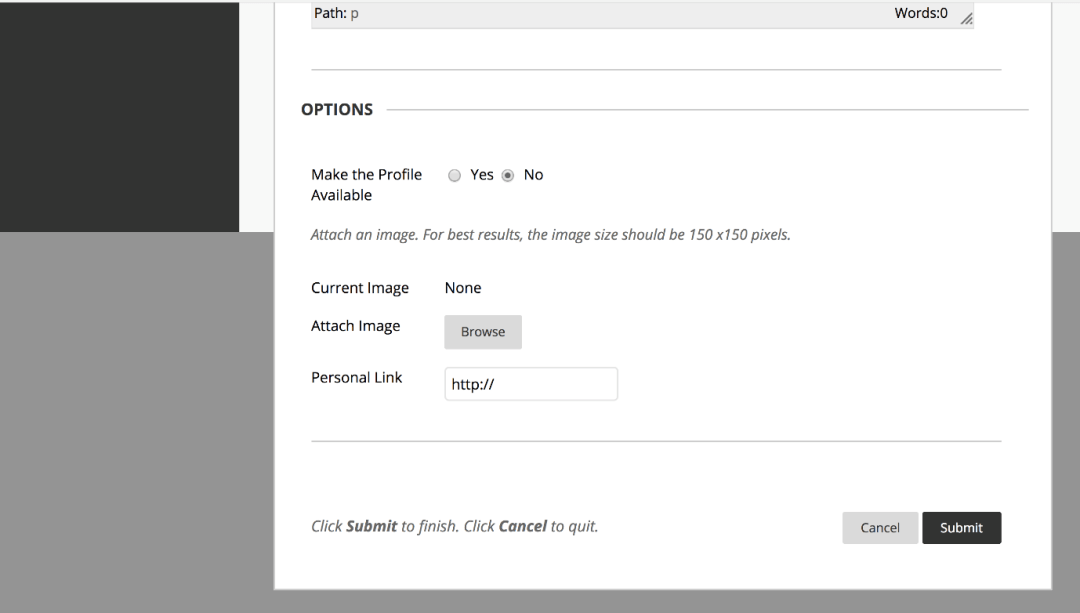
To add an attachment, select the "Attach a File" link. Select the "Browse" button and locate the file you want to attach. Select the file and click the "Open" button. You can now see that your file is attached.
How do I share a file on Blackboard Collaborate?
Sharing a FileClick on the purple tab at the bottom right of the session screen to open the “Collaborate Menu.”Click the third icon from the left to open the “Share Content” page.Click Share Files.Drag the file you wish to share into the box or you can click on the box to insert the file.More items...•Dec 7, 2017
Can students share screen on Blackboard Collaborate?
The Ultra experience of Blackboard Collaborate makes it easy to share your knowledge. You can upload content, including PowerPoint® presentations, or share your desktop screen to show more details. Open the Collaborate panel and select Share Content to start sharing and collaborating with your attendees.
How do I share my screen on blackboard?
Share an application or your screen Go to the Share Application/Screen button. Spacebar or select Share Application/Screen button to open an operating systems dialog window or Share Application/Screen panel in Collaborate. Focus remains in the Share Content panel on the Share Application/Screen button.
Step 1
On the left menu choose Tools > Content Collection and find the folder/file you want to share. Click the Permissions icon.
Step 2
Choose who you want to give access to. You can choose a specific person, a course or organization, a type of user, or make the item public ("Permit Anyone").
Step 3
Tell the person you are sharing with how to navigate to the item or folder in the Content Collection, or get the link to send to the person. To get the link, hover over the item or folder name, click the arrow, and choose 360 View. Copy the Permanent URL.
Why are bookmarks useful?
This tool is helpful when you have access to a nested folder because the Find Folder tool doesn't return nested folders.
What is content collection?
The Content Collection contains many tools to share and search for content. These options depend on the level of the shared folder. For example, the permissions you set on a top-level folder versus a sub-folder affect the search tools that are available to those users.
What happens when you open a content collection?
When users open the Content Collection, they are presented with their user folder and the folders for courses and organizations they are enrolled in . You can toggle between Show All Folders and Show Enrolled Folders to filter the display between the folders to make finding content easier.
What is the Find Folder option?
The Find Folder option allows you to search for top-level folders for which you have permissions. For example, if another user has granted you read permission for their username folder, this could show up in searches using Find Folder. You can also add the folder to your Content Collection menu, making it easy to access the folder on a regular basis.
What is a "go to location"?
Go to Location lets you go directly to a specific folder that has been shared with you in the Content Collection. This time-saver allows users to enter the path to open the folder and bookmark it at the same time.
What is workflow model?
Workflows. If a user is expected to take action or respond to an item, it can be helpful to send a workflow model with the item. When you create a workflow model, you select users to share the item with and grant them permissions to do so.
What is a portfolio in a course?
Portfolios allow you to collect and organize files into custom web pages. You can present these portfolios to individuals and groups of users outside of your courses. It is important to consider the selected permissions for files linked in a portfolio. If another user has permissions—other than read—to a file that is linked to a portfolio, the file may be edited or deleted, resulting in issues for the portfolio users.
Popular Posts:
- 1. what is blackboard
- 2. how to delete a discussion post on blackboard
- 3. how to unsubmit an assignment on blackboard
- 4. how to delete a thread on blackboard
- 5. how to resubmit an assignment in blackboard
- 6. how to double space on blackboard
- 7. how to use blackboard
- 8. how to edit a discussion post on blackboard
- 9. how to submit on blackboard
- 10. how to delete a submission on blackboard