How do I record voice over in Premiere Pro?
Select tracks for capture To open the Capture panel, select File > Capture. In the Capture panel, click the panel menu. Select Record Video, Record Audio, or Record Audio and Video, depending on the option desired.
How do I add audio to a video in Premiere Pro?
Lecture capture is an encompassing term describing any technology. ... Screenflow and Adobe Premiere are especially well suited for editing. ... They have a link to the BI107 course materials from the BI242 Blackboard site. I also use iClickers as a means to determine their preparation for lectures (did they do the reading and understand the ...
How do I turn off microphone feedback in Premiere Pro?
Sep 17, 2021 · Select the track in the Timeline to which you want to add the voice-over. Click the Settings button in the Timeline and select Customize Audio Header. From the Button Editor dialog box that appears, drag-and-drop the Microphone button to …
How do I improve the sound quality of audio in premiere?
Mar 29, 2021 · This lecture capturing service located on Blackboard and App stores will record not only your face but your screen as well! Panopto also includes automated captions and editing features. For information on Panopto visit our Panopto Knowledge Base. Adobe Premiere. This video editing software is available to faculty and staff through the UTRGV IT Portal. For …

Can you record blackboard lectures?
Record Sessions To start recording, open the Session Menu. From the Session Menu, select Start Recording. The recording camera appears on with a red dot while recording is in progress. To finish recording, open the Session Menu and select Stop Recording.Jun 18, 2019
How do I record a video using Blackboard Collaborate?
3:308:52Record a Blackboard Collaborate Ultra Session - YouTubeYouTubeStart of suggested clipEnd of suggested clipYou just click this menu icon in the top left the three lines. And to start recording you'll see anMoreYou just click this menu icon in the top left the three lines. And to start recording you'll see an alert pop out saying the session is being recorded.
How do students record lectures on Blackboard Collaborate?
0:139:05How-to: Record a presentation in Blackboard Collaborate - YouTubeYouTubeStart of suggested clipEnd of suggested clipYou click the record button to start recording. You do your presentation. Then. You click the stopMoreYou click the record button to start recording. You do your presentation. Then. You click the stop button to stop your recording.
How do I record a class on Blackboard?
0:396:47Recording a class on Blackboard Collaborate Ultra - YouTubeYouTubeStart of suggested clipEnd of suggested clipYou can scroll down to the bottom and under. Course tools under course tools you will findMoreYou can scroll down to the bottom and under. Course tools under course tools you will find blackboard collaborate ultra. Now.
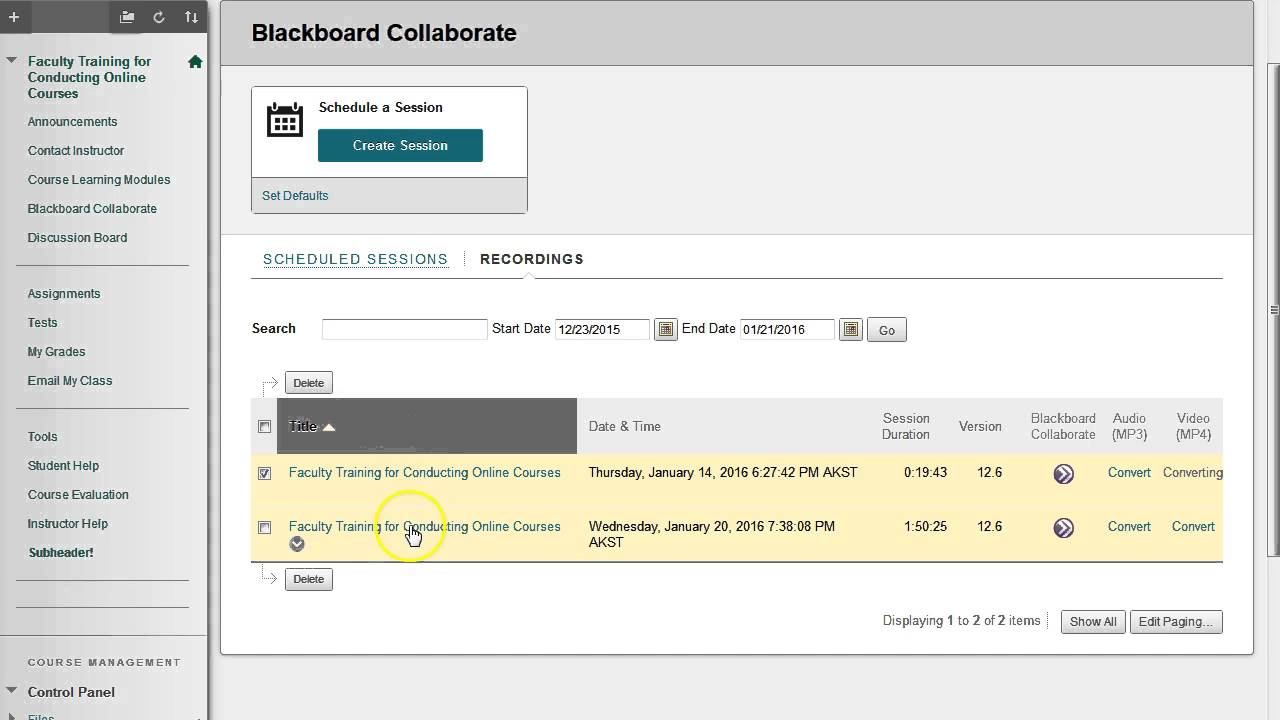
How do I download a recording from Blackboard?
Go to Recordings and click on the Recording Options (ellipses sign) adjacent to the recording you wish to download. 6. Click Download. After the download (MP4) has completed, look in your Downloads folder on your computer for the downloaded session.
Can students record on Blackboard Collaborate?
The recording is only available to group members and instructors/TAs via the group's Collaborate page. Students cannot share a link or download the recording. Only the instructor/TA has the ability to get a link to the recording, edit the name, and delete the recording.
Does Blackboard Collaborate record your screen?
Collaborate Ultra recordings can be made inside any Blackboard Shell, and audio can be recorded via a computer microphone, headset, or even a cell phone. Collaborate Ultra can record your entire screen, allowing you to present documents, websites, or anything you need to display.
How do I upload a recording to Blackboard?
Post Your Recording to BlackboardGo to the content area where you would like to place media in your course.Click Build Content.Click on the Add Content button.If your media is already uploaded, click Select next to the media. ... Add a title and any accompanying text, and change any settings accordingly.Click Submit.Dec 21, 2020
Can Blackboard Collaborate recordings be edited?
If you need to edit the recording, you can use the drop down arrow next to the recordings name and select “Edit Recording.” a. This will then open a window that allows you to edit the recording. You can change the recordings name and description, the courses the recording is available to, and enable guest links.
Can you download lectures from Blackboard?
You can download recordings from Collaborate using the following steps: Access Blackboard Collaborate within your course. Open the menu in the upper left-hand corner, and select Recordings. If you don't see the recording you want, click Recent Recordings and select Recordings In A Range.Feb 28, 2018
Can you record a video on blackboard?
Blackboard allows you to record video directly from within a course.Aug 23, 2013
How do I find my lecture Recordings on blackboard?
You can view recordings in courses you are enrolled in. You may be able to download recordings. Moderators must allow session recording downloads for each session. Go to Collaborate, open the Menu, and select Recordings or View all recordings.
Capture analog audio
If you want to use audio that isn’t yet in digital form (for example, from an analog cassette or a live microphone), you need to digitize it through an audio or audio/video digitizer/capture card.
Prepare the audio input channel for recording
When you enable recording for a track, the track can record from the Default Device channel specified in the Audio Hardware section of the Preferences dialog box. This dialog box includes the ASIO Settings button (Windows only), which you use to enable audio inputs connected to the computer.
Record audio from a microphone or another analog source
Make sure that you have specified the Input audio device. For more information, see Specify the default audio device .
Record a voice-over on an audio track from the Timeline
You can record a voice-over on an audio track directly in the Timeline by following these steps:
Mute input during recording
Muting input can prevent feedback or echo when the computer is connected to speakers.
How to stop microphone feedback in Premiere?
To avoid microphone feedback, wear headphones or mute the playback audio while recording your voice-over. Click the Voice-Over Record button. Premiere Po will begin recording audio starting wherever the Timeline playhead is placed. Click Stop to stop the recording.
Can you record your own voice over in Premiere Pro?
And Premiere Pro makes it simple to record your own right onto the Timeline, so you can watch your Sequence play as you record. To record a voice over you'll need a microphone of course and you will need it to be set up on your computer.
Overview
This course is intended to train faculty, staff, teaching assistants, and student workers on how to develop online lecture materials for face-to-face, hybrid, and online courses. Participants will learn how to use technology to create high-quality online lecture materials to enhance teaching and learning.
How to Enroll
Click the link below to request access to the course. It may take up to 24-48 hours to gain access depending on the time of request.
Popular Posts:
- 1. blackboard itt.edu
- 2. blackboard assignment content area
- 3. how to upload something to blackboard
- 4. why cant i open my blackboard echos
- 5. blackboard jefferszon
- 6. when you delete an assignment in blackboard
- 7. how to search for key words in a blackboard doc
- 8. what is a content area in blackboard?
- 9. blackboard for baker college
- 10. how to unlink cengage content in blackboard