Adding Images in a Blackboard Discussion Forum
- Click the Add Image button to see the Insert/Edit Images screen.
- Click Browse My Computer.
- Select your image to add to Blackboard. ...
- Enter a Title and Description.
- You can also adjust some aspects of the image from the Appearance tab.
- Click Insert to finish.
How do I embed an image in Blackboard?
Select Add Content > Insert/Edit Image from Web. Type or paste an image URL to embed an image hosted online. You must use the http:// protocol. Include a description of the image in the Alternative text box so users who can't view the image are able to understand the image's importance.
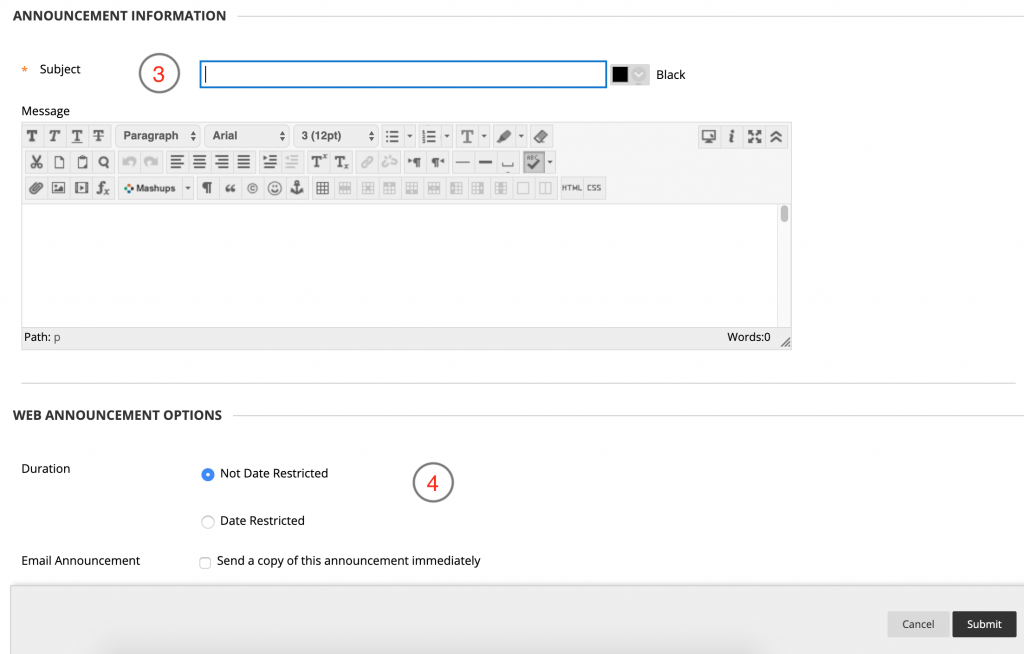
How do I add an attachment to an announcement in Blackboard?
How do I attach a file to an announcement in a course?Open Announcements. In Course Navigation, click the Announcements link.Edit Announcement. Click the Edit button.Attach File. Click the Choose File button.Browse for File. Choose the file you want to attach [1]. ... Save Announcement. ... View Announcement.
How do I attach a course message in Blackboard?
0:152:25Attaching Files from Course Files in Blackboard - YouTubeYouTubeStart of suggested clipEnd of suggested clipAn. Image the other way to attach files to your content is to use the attachments area below theMoreAn. Image the other way to attach files to your content is to use the attachments area below the content editor.
How do you pin an announcement on blackboard?
Drag the bar to reorder announcements to new positions on the page. Move priority announcements above the bar to pin them to the top of the list and prevent new announcements from superseding them. Students see announcements in the order you choose. Students don't see the bar and can't reorder announcements.
Adding an Image
Log into Blackboard and access the content area in which you would like to upload an image to. Please refer to the guide titled Creating a Content Area for more information on how to create a content area. To upload your document:
Uploading an Image File
Zoom: Image of Section 1: Select Image file with the following annotations: 1.Name: Enter a name for the image.2.Color of Name: Use the selector to choose a color for the image name.3.Find File: Click on the Browse My Computer button to upload an image stored on the computer; click Browse Course to upload an image that has already been uploaded to the course content collection, or Browse Mashups to upload an image from Flickr to Blackboard.4.Alt Text: Enter an alt text description here for visually impaired individuals.5.Long Description: Enter a caption or description for the image.
Changing the Image Appearance Settings
Image Options allows users to modify the size and appearance of the image file.
Setting Up The Image Availability
Zoom: Image shows Section 3: Standard Options with the following annotations: 1.Permit Users to View this Content: Select Yes to allow students to view the image.
What is an announcement in a course?
Announcements. Announcements are an ideal way to post time-sensitive information critical to course success. Add announcements for these types of course activities: You can add, edit, and delete announcements from the Announcements page. When you add an announcement, you can also send it as an email to students in your course.
What happens if you don't join a course group?
If students haven't joined a course group, that alert remains in the activity stream.
Can you insert media into the editor?
You can use the Insert/Edit Media from Web option to insert media directly into the editor. The editor automatically embeds the content so it appears alongside the other content you include. Course members can view the content, such as a video, within the same window—no need to navigate to the media's site.
Can you add images to Ultra?
Insert images in the editor. In some areas of an Ultra course, you can use the editor functions to add images along with text content. You can add images that are hosted online or in cloud storage. You can also upload an image from your local drive.
Can you add attachments to calendar?
You can't add attachments in the editor in calendar items. Select Insert/Edit Local Files. Browse for a file from your computer. A status window appears to show the progress of the file upload. You can edit the file's settings, including the display name, alternative text, and display behavior.
Can you upload files in Ultra?
You can upload files in the editor in certain areas of an Ultra course . For example, in a discussion, you can include a document to support your statements. The editor only supports inline viewing for videos in MP4 format. You may need to download videos that use other file types, such as MOV or MPEG.
How to post a picture in a discussion?
Step 1: Compose your message as desired, then place your cursor in the body of your message where you want your image to appear. Step 2: Click the “Insert/Edit Image” button.
How to embed a picture in Word?
Step 2: Click the “Insert/Edit Image” button. Step 3: Click the “Browse My Computer” button and locate the image on your computer that you wish to embed. Step 4: Enter “Image Description” and “Title”. Step 5: Click the “Insert” button. Step 6: Click the “Submit” button (if discussion) or “Post Entry Button” (if journal or blog)
Popular Posts:
- 1. what is blackboard
- 2. how to delete a discussion post on blackboard
- 3. how to unsubmit an assignment on blackboard
- 4. how to delete a thread on blackboard
- 5. how to resubmit an assignment in blackboard
- 6. how to double space on blackboard
- 7. how to use blackboard
- 8. how to edit a discussion post on blackboard
- 9. how to submit on blackboard
- 10. how to delete a submission on blackboard