- Fill in your nail holes Use spackling paste to fill any nail holes or imperfections in your wall.
- Sand Sand Sand! Sand the entire wall smooth. ...
- Always tape before you paint Tape the edges of your wall, including trim or anywhere you don’t want paint, obviously.
- Paint it black! ...
- Prime away Prime the wall. ...
- Start over! ...
- Protect the Floors. Using a drop cloth, cover the floor and the area where you will be painting. ...
- Gather Your Materials. Once you have spread out the drop cloth, gather all of your materials and place them on top. ...
- Prep the Wall. ...
- Clean the Wall. ...
- Tape the Area. ...
- Paint the Area. ...
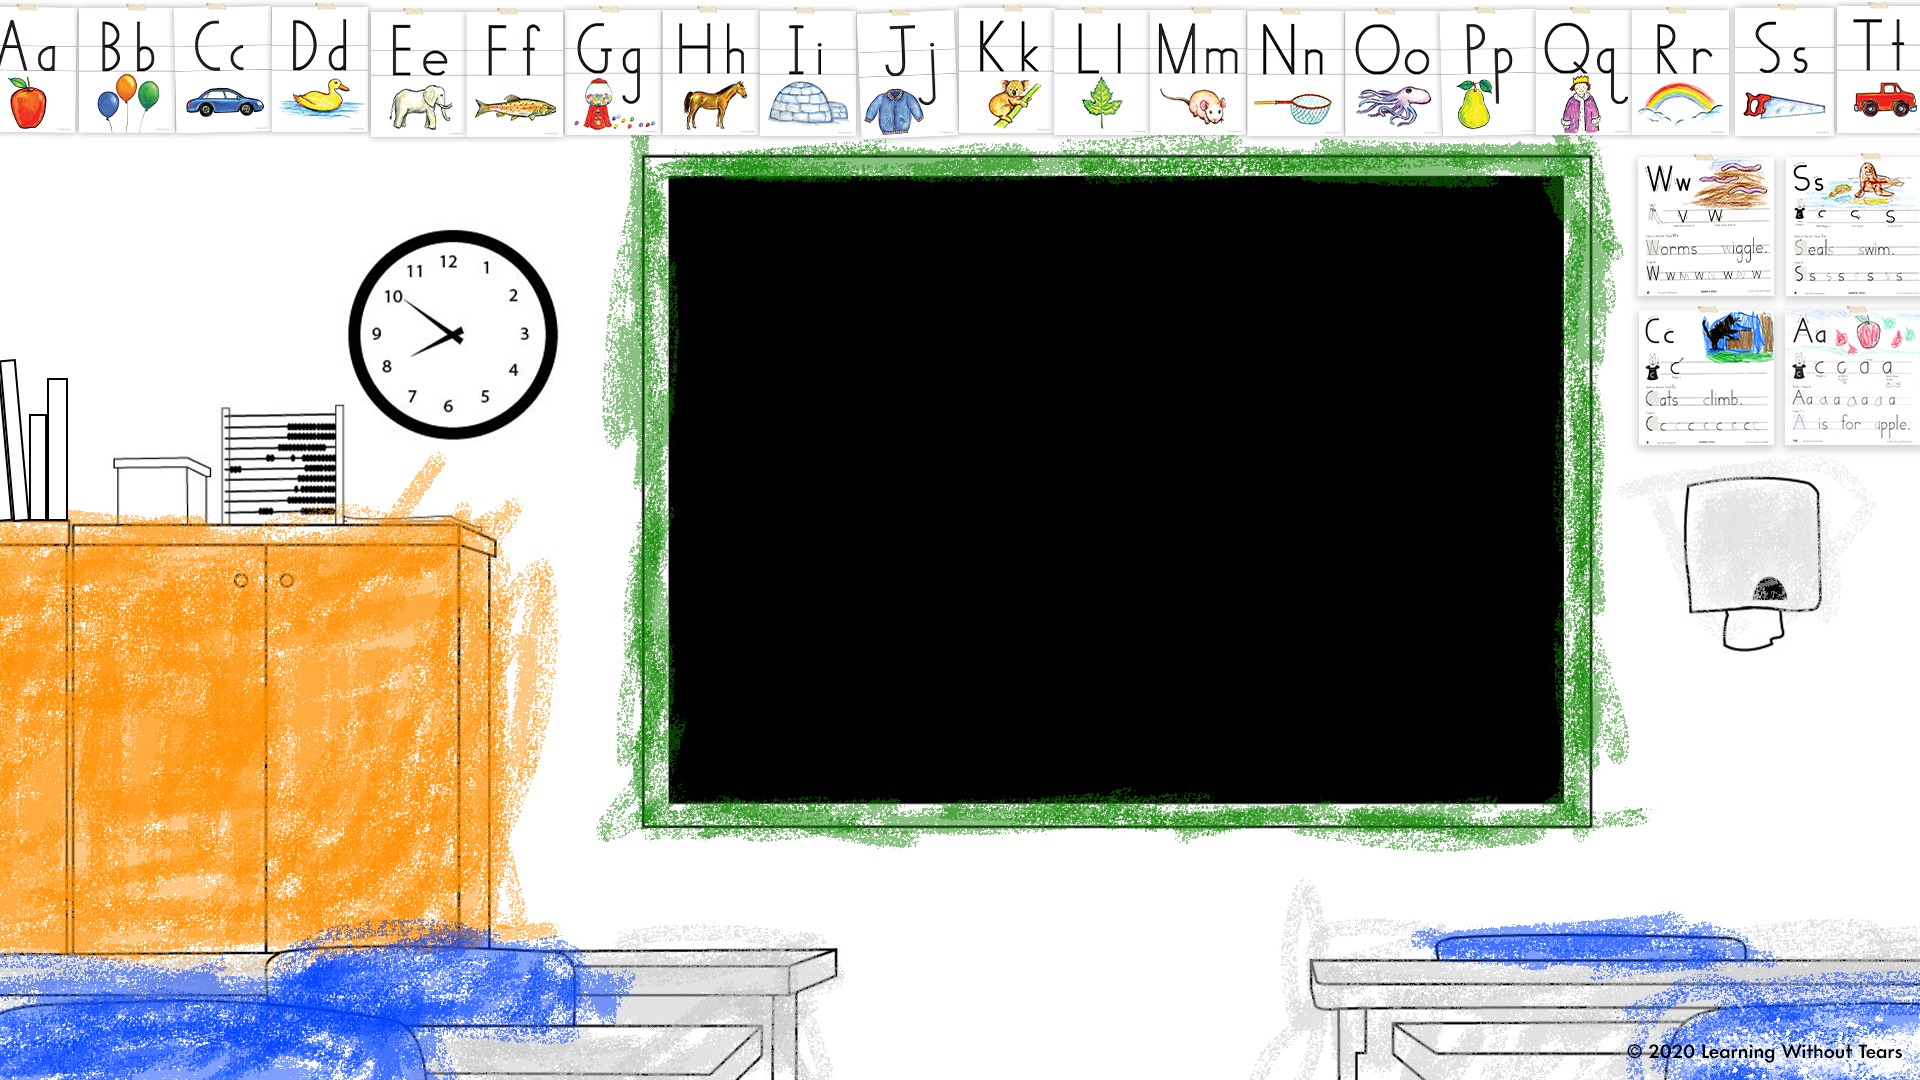
- Use Your Chalkboard Wall.
How to make a chalkboard wall?
Oct 17, 2020 · How to Make a Blackboard Wall Posted by Megan 17th Oct 2020 18th Oct 2020 Posted in Creative Tags: black board , chalk art , chalk wall , crafts , Creative , creative lifestyle , hacks , ideas At the beginning of the summer, my dad and I (well mainly my dad haha) painted one of the walls in my bedroom with black chalk paint to make it a chalk wall!
How do you fix a messy chalkboard wall?
Apr 02, 2018 · 1×3 pine boards (I used 4, but it will depend on the size of your chalkboard) Wood glue. Drill + 3″ screws. Level. Start by figuring out how large you want your blackboard to be. I just grabbed a measuring tape and held it up to the wall in the approximate space I wanted it to be – mine ended up being 6-feet by 4-feet.
Can you add a chalkboard wall to your garage?
Jul 16, 2020 · Light, subtle strokes are key here—you don't need a ton of paint. Wait between two and four hours before applying your second coat, and be sure to apply a minimum of two coats. After the final coat, allow your chalkboard paint to dry for at least three full days (patience is …
How do you attach a board to the wall?
Materials for How to Create a Chalkboard Wall: Fill in your nail holes. Sand Sand Sand! Sand the entire wall smooth. If you have textured walls, you’re going to want to make it as smooth as possible so you can actually ... Always tape before you paint. Tape the edges of your wall, including trim or ...

How do I turn my wall into a blackboard?
How to Make a Whole Wall Into a BlackboardTape off the areas not to be painted. ... Prime the wall with a white latex primer. ... Shake the can of chalkboard paint well. ... Pull off the painters tape when finished and test the surface with various types of chalk.
How do you make a blackboard at home?
Sand your wood. I didn't do this, but wish I had. ... Prime your wood. Cover the entire board with wood primer and let dry completely. ... Add your chalkboard paint. Paint with two coats of chalkboard paint, letting the paint dry completely between coats. ... Rub in chalk. ... Use your chalkboard!Jun 15, 2016
How do you paint a chalkboard wall?
To paint over the chalkboard paint, Radek recommends using 180-grit sandpaper to lightly sand the surface, then washing the area with soap and water to clean the surface. Once the surface is dry, apply a latex primer. After one hour, wall paint can be applied over the surface.Oct 29, 2015
How do you make chalkboard paint without plaster of Paris?
Method 1 – Using Baking Soda Most of us have this versatile ingredient available in our kitchen. Chalk paint using baking soda can be made much like the Plaster of Paris chalk paint recipe. To 1/2 cup baking soda, add 3-4 tablespoons of cool water. Then add this paste-like mixture to a cup of latex paint.
How do you make a blackboard rough?
0:122:21DIY | How to Make Chalkboard Paint (Only 2 Ingredients!) - YouTubeYouTubeStart of suggested clipEnd of suggested clipAll you'll need to get started is latex or acrylic paint. And plaster of Paris. We're going to startMoreAll you'll need to get started is latex or acrylic paint. And plaster of Paris. We're going to start by combining two tablespoons of our plaster. And one tablespoon of water.
Is chalk paint the same as chalkboard paint?
Are Chalk Paint And Chalkboard Paint The Same Thing? Chalk paint or chalk finish paint, is used to paint furniture and other surfaces. It dries to a chalk like finish. Chalkboard paint is exclusively used to create an actual chalkboard surface that you can write on and erase repeatedly .Mar 21, 2019
Can you paint directly over chalkboard paint?
If you get tired of a chalkboard wall, you can just paint over it. Wash the area to remove all residue, then sand, prime and paint over it with your favorite new color.Jan 30, 2020
Does chalkboard paint need primer?
Some brands of chalkboard paint do not require a primer before applying the paint to the wall, except over glossy paints. Select a high-quality primer for the best coverage, which will also help hide the original paint color beneath the chalkboard paint.
Who is Debbie Wolfe?
Debbie Wolfe is an all-around lifestyle expert with over two decades of experience. She’s been writing in the DIY space for over six years for major online publications. Kelly Bacon is a licensed general contractor with almost 50 years experience in construction, home building and remodeling, and commercial building.
Can chalkboard paint be used on wood?
Applying chalkboard paint to a wall transforms it into a functional element in a room.
Is chalkboard paint tintable?
Chalkboard paint, like other oil and latex paints, is tintable. Although it's easy to find in the basic black or dark green color , it is available in white and can be tinted to any color. However, darker chalkboard paint allows the chalk to be more visible on the surface.
How do I paint a chalkboard wall?
How to Paint a Chalkboard Wall 1 After sanding and/or spackling away any minor imperfections, continue to prepare your work area by covering any adjacent furniture and surfaces with a drop cloth. (Messy paint drips, unlike chalkboard walls, are not so cute.) You'll then want to clean the wall—a soft cloth with a simple mix of soap and water should do the trick. Finally, dry it off using a new cloth, then use painter's tape to create a neat border around the portion of the wall that you intend to paint. A level might come in handy here to ensure that your lines are straight, but it's not necessary. 2 Before you begin applying any paint to the wall, mix it carefully with a paint stir stick to ensure an even consistency. Then, pour a small amount into your paint tray and wait for any bubbles to pop. Cover the entire foam paint roller with a thin layer of chalkboard paint, then paint your first layer onto the wall. Light, subtle strokes are key here—you don't need a ton of paint. 3 Wait between two and four hours before applying your second coat, and be sure to apply a minimum of two coats. After the final coat, allow your chalkboard paint to dry for at least three full days (patience is paramount). 4 "Cure" or "season" your chalkboard surface by rubbing the side of a piece of regular white chalk over its entire surface, then erase with a dry towel...and you're ready to doodle!
How long does chalkboard paint dry?
After the final coat, allow your chalkboard paint to dry for at least three full days (patience is paramount). "Cure" or "season" your chalkboard surface by rubbing the side of a piece of regular white chalk over its entire surface, then erase with a dry towel...and you're ready to doodle!
How do I paint a wall?
First, use the painter's tape to frame the section of the wall you wish to paint, whether it's the entire wall or just a section. Thoroughly clean the area of any obstructions. This includes removing any nails or screws and filling in any holes left behind with spackle. Let it dry, and then sand the spot flat.
How long does chalkboard paint dry?
Stir the chalkboard paint, and then apply a coat directly to the wall just as you would any other wall paint. Let the coat dry for four hours or however long the manufacturer advises. Then apply a second coat.
How do I clean a chalkboard wall?
To clean your chalkboard wall, simply wipe it clean as needed with a damp cloth. After wiping it clean, condition your wall again by covering the entire surface with chalk and erasing it again, as you did during initial installation.
Is chalkboard paint a good idea?
Yes! The chalkboard wallpaper you can purchase and other options available just don’t hold up as well, and the chalk doesn’t write on them as well. Chalk paint is inexpensive, and easy to apply. It will hold up longer and look better and you won’t have pesky chalkboard “wallpaper” lines throughout your masterpiece.
How much does a chalkboard wall cost?
Not much friends, not much at all! Truly it’s just the chalk paint, plenty of chalk, and if you want to do wood trim around it like us, that’s optional.
How do you make a chalkboard wall?
You’re gong to want to use a surface that doesn’t have a lot of texture. Our wall downstairs was more of a light orange peal texture, which worked fine for this project! Look at the wall and picture yourself writing over it and if it looks too bumpy to write out a word or letter, find a different wall.
How to paint a chalkboard wall
Painting a chalk wall is easy. You’re going to apply it similar to regular paint, making sure your surface is clean (I use a cup of vinegar in a bucket of warm water) and that you’ve marked out your area. We used a chalk line to mark how far up the wall we wanted the chalkboard to go.
Dry and Recoat Times
Though the chalk paint says it dries to the touch within 30 minutes, you should wait for a minimum of four hours before applying a second coat. After applying the second coat I actually allowed to dry overnight and then added on the third and final coat. Allow wall to set for three days before conditioning and using!
How to condition a chalkboard wall
Once three days are past, your chalkboard wall is ready to be conditioned, or primed as some people say. Conditioning a chalkboard wall is how you actually get the wall to look like a chalkboard, and not just a black wall. Priming the chalkboard is what gives it that old school chalkboard feel. It’s also a protector of sorts.
Should I wipe down my chalk wall with a wet rag?
Unless you’ve got a really stubborn chalk mark, using a wet rag isn’t really needed. If and when you do decide to give it a good cleaning with a wet rag, make sure to follow it up with another conditioning treatment. Remember, the chalk dust is what makes for a good erasable surface.
How long does it take for galvanized metal to dry?
While the paint only takes a few hours to dry, you will need to let it cure for at least 3 days.
Can you write on a chalkboard?
Before you can write on your new chalkboard, you will need to season it. Chalkboard paint is very porous and if you write on the chalkboard before you season it, you will never be able to completely erase what you have drawn. Take a piece of chalk and rub the side of the chalk over the entire surface of the board.
How do I attach trim to a wall?
(It’s helpful to use a clamp around the corners to hold the trim together as your glue dries.) Caulk the outside of the trim to fill the gap between the trim and wall. Rub wood putty over nails on trim.
Popular Posts:
- 1. what is blackboard
- 2. how to delete a discussion post on blackboard
- 3. how to unsubmit an assignment on blackboard
- 4. how to delete a thread on blackboard
- 5. how to resubmit an assignment in blackboard
- 6. how to double space on blackboard
- 7. how to use blackboard
- 8. how to edit a discussion post on blackboard
- 9. how to submit on blackboard
- 10. how to delete a submission on blackboard