Go to Control Panel > Content Collection > "Course ID". Click on Upload > Upload Files. You will go to a page with an area of the screen that you can drag and drop a folder into.
You can add files from the Content Collection right on the Course Content page. Select the plus sign wherever you want to add files. In the menu, select Content Collection to browse the files available to you and add them to your course. You can also find the Content Collection in the Import Content panel.
Full
AnswerHow do I upload a directory to Blackboard?
Select the plus sign wherever you want to add files. In the menu, select Content Collection to browse the files available to you and add them to your course. You can also find the Content Collection in the Import Content panel. Select Content Collection to browse the files available to you and add them to your course. To speed up the process, you can select multiple files to add …
How do I load content to the whiteboard?
• On the action bar, point to Build Content and click Content Folder. • On the Create Content Folder page, type a name and an optional description or instructions. • Click …
How do I Make my Blackboard course content accessible to students?
1. Click on desired Content Area from the Course Menu. 2. Under Control Panel, use the pulldown next to “Packages and Utilities” to choose Export/Archive course. On the next screen, you will probably find that there are no existing export files. You will now create an export file by clicking the “Export” button. 3.
How do I UN-package a file in Blackboard?
Copy a file or folder. In the Content Collection, go to the folder that contains the file or folder you want to copy. Select the check box next to the item and select Copy. You can also access the Copy option in the item's menu. Enter the path to the destination folder or select Browse to locate and select the destination folder.

How do I add content to a blackboard folder?
Add a FolderClick on the “Build Content” action menu button to expose a listing of content types to choose from.Select “Content Folder” listed under the “New Page” heading.Name the folder and decide when to make it available to students. ... Click “Submit” to complete the creation process.
How do I upload a file to Blackboard?
Browse for filesIn the Course Files folder where you want to upload the files, point to Upload and select Upload Files.On the Upload Files page, select Browse and open the folder on your computer with the files and folders to upload. Select the files.The files and folders appear in the upload box. ... Select Submit.
Where is the content folder in Blackboard?
Content areas, such as Users, Courses, Institution, and Library, are folders stored under the root folder. A folder is automatically available to the user who created it, and may also be visible to other users if you create it in the course area.
How do I link to a content collection in Blackboard?
Create a link to a file or folder On the Course Content page, select where you want the link to appear and select the plus sign. Select Create to open the Create Item panel and select Link. Type a title and optional description. Paste the URL that you copied from the Content Collection item and select Save.
Why can't I upload files to Blackboard?
There are problems with adding attachments to student email or uploading files in Blackboard with the internet browsers Edge, Internet Explorer, and Safari. Files may not upload/attach or may be blank, completely empty. We recommend using Chrome or Firefox. Do not use Edge, Safari or Internet Explorer.Feb 9, 2021
How do I upload files to Blackboard Collaborate?
Click on the purple tab at the bottom right of the session screen to open the “Collaborate Menu.” Click the third icon from the left to open the “Share Content” page. Click Share Files. Drag the file you wish to share into the box or you can click on the box to insert the file.Dec 7, 2017
How do I organize folders in Blackboard?
0:349:15Create and Organize Content Folders in Blackboard - YouTubeYouTubeStart of suggested clipEnd of suggested clipLet me begin by opening up one of the unit folders. Now keep in mind you don't need to necessarily.MoreLet me begin by opening up one of the unit folders. Now keep in mind you don't need to necessarily. Name. Them by units. They can be units. They can be by chapters.
What is a content folder?
Content folders offer a familiar, tree-like structure that provides convenient access to files on a content server without having to use that server's own user interface (web-based or otherwise). They are essentially like the directories on your local computer, but they point to virtual locations on the content server.
How do I organize course content in Blackboard?
You can rearrange the order of content items (or folders) within a course content area, simply by dragging each item to the desired position. Hover over the left-hand edge of an item and your mouse pointer will change to a four-headed arrow. Use this to drag and reposition the item or folder.Feb 28, 2019
What is a content area in Blackboard?
A Content Area allows course content to be organized into folders, files, graphics, assignments, tests, external links, and Blackboard Learn tools. You can create multiple Content Areas for your course and place them on the Course Menu.
What is housed in the collected course content folder?
What is the Content Collection? In the Content Collection, you can store, share, and publish digital content in personal, course, and institution folders. When you want to edit content, you do so once and the updates appear throughout your work.
What is content collection?
Blackboard's Content Collection is a file repository that allows faculty and students to store, manage, and share content. The Content Collection functions as a virtual hard drive that can be accessed from any computer by logging into a user's Blackboard account.
How to upload a file on a computer?
Select the plus sign wherever you want to upload files . In the menu, select Upload to browse for files on your computer. The files appear in the content list. Open a file's menu to edit the file name, align with goals, replace the file, or add a description.
How to review files before importing into a course?
You can review the list of selected files before you import into your course. Review the Item Name, Date Modified, and Size to confirm that these are the correct files. Forgot something? You can add more items to the list. Select Back to Content Collection to continue browsing.
What does Ally do after you add content to a course?
After you add content to a course, Ally creates alternative formats of the content based on the original. For example, if the original content is a PDF, Ally creates audio, electronic braille, and ePub formats of the same content. These formats are made available with the original file so everything is in one convenient location.
What is status window?
A status window appears to show the progress of the file upload. You can also add files from cloud storage, such as OneDrive. You can edit the file's settings, including the display name, alternative text, and display behavior.
Can you upload files in Ultra?
You can upload files in the editor in certain areas of an Ultra course. For example, you can include an image or a document to help students understand your instructions or initial prompt.
Can you add images to Ultra?
Insert images in the editor. In some areas of an Ultra course, you can use the editor functions to add images along with text content. You can add images that are hosted online or you can upload an image from your local drive. If you add a large image, it's a good idea to include the image as a separate text link.
Can you embed audio in feedback?
You can embed audio and video recordings of your feedback in the editor as you grade attempts. The recording option appears in the feedback editor for most graded items in your course. Students watch or listen to your feedback alongside any text you include.
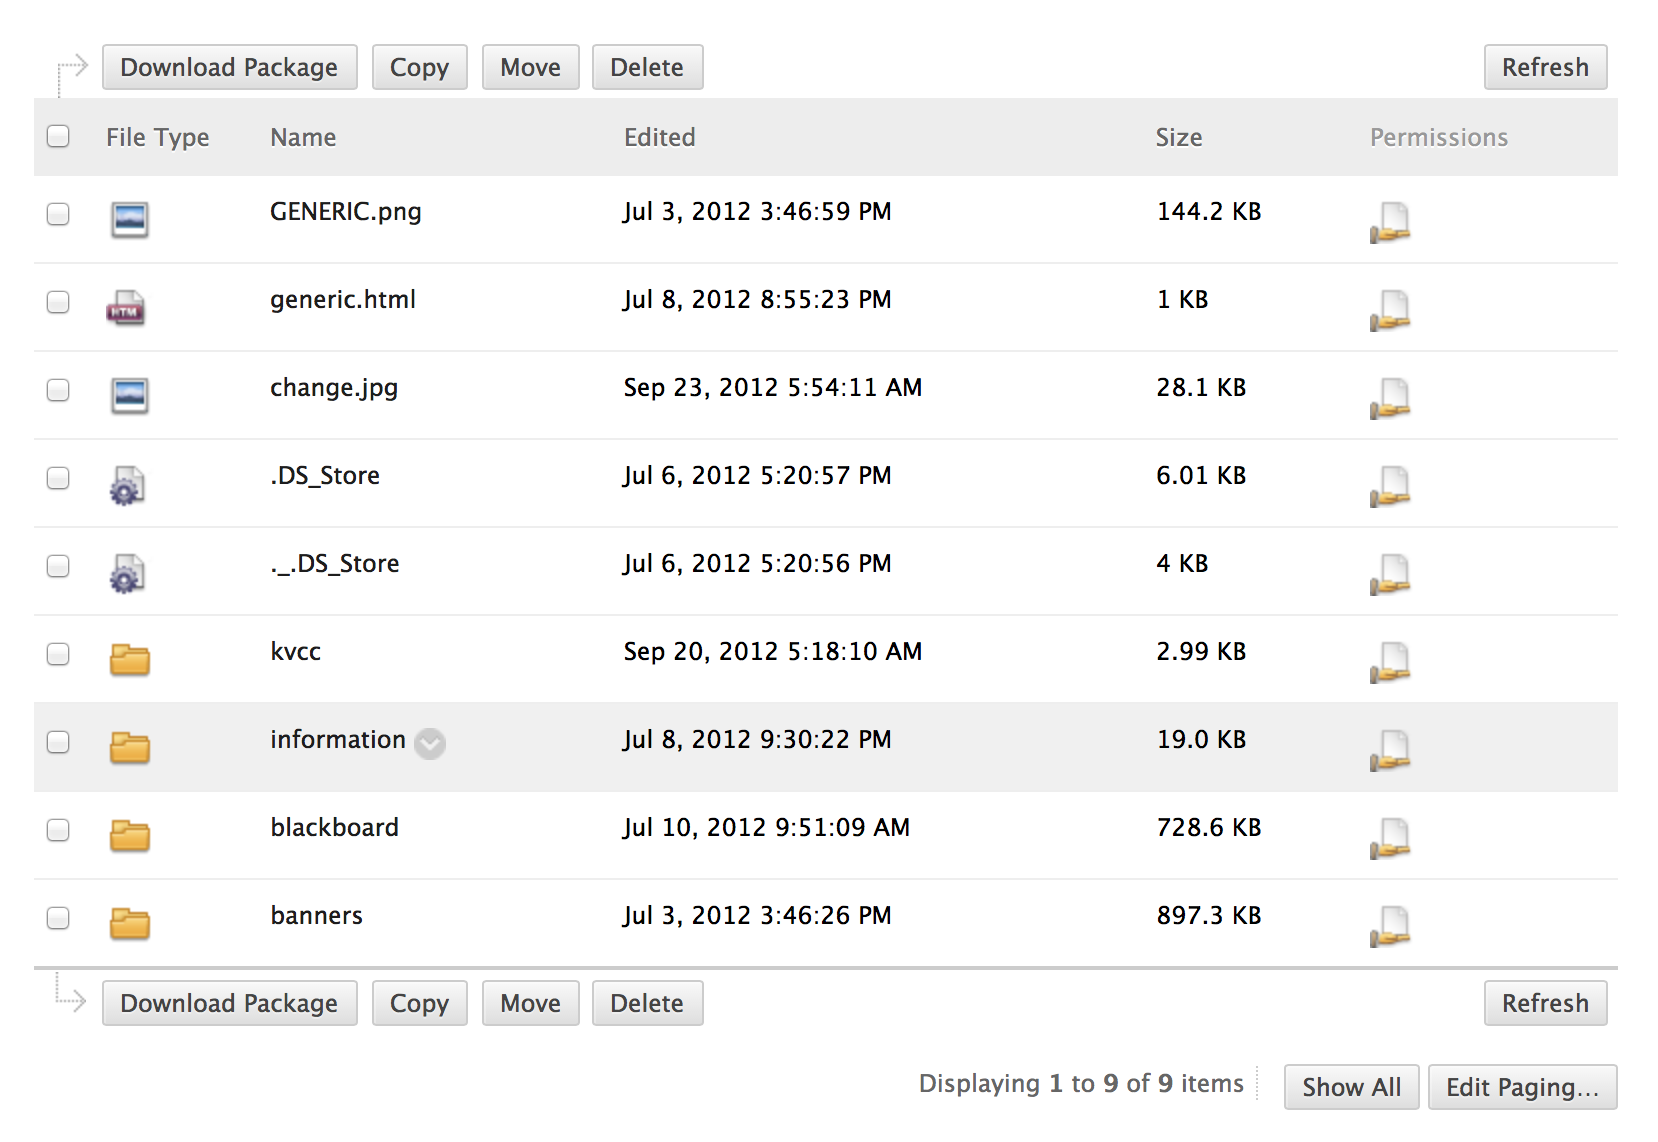
Permissions
To copy an item, you need read and write permission for the file and its destination folder. To move an item, you need read, write, and remove permissions for the file and the folders you're moving the content between.
Copy a file or folder
In the Content Collection, go to the folder that contains the file or folder you want to copy.
Move a file or folder
In the Content Collection, go to the folder that contains the file or folder you want to move.
Popular Posts:
- 1. what is blackboard
- 2. how to delete a discussion post on blackboard
- 3. how to unsubmit an assignment on blackboard
- 4. how to delete a thread on blackboard
- 5. how to resubmit an assignment in blackboard
- 6. how to double space on blackboard
- 7. how to use blackboard
- 8. how to edit a discussion post on blackboard
- 9. how to submit on blackboard
- 10. how to delete a submission on blackboard