Within the Course Tools section of the Control Panel (on the left-hand side of your browser window), click on the Photo Roster link: Choose the options you want for how to display the names of your students and what other information to include on the page: for example, Class Year and Major.
From the list of Control Panel options, click the arrow to the left of Course Tools. 2. Click the link for Class Photo Roster and you'll be taken to a page that displays a row-by-row view of the enrolled students in your class.
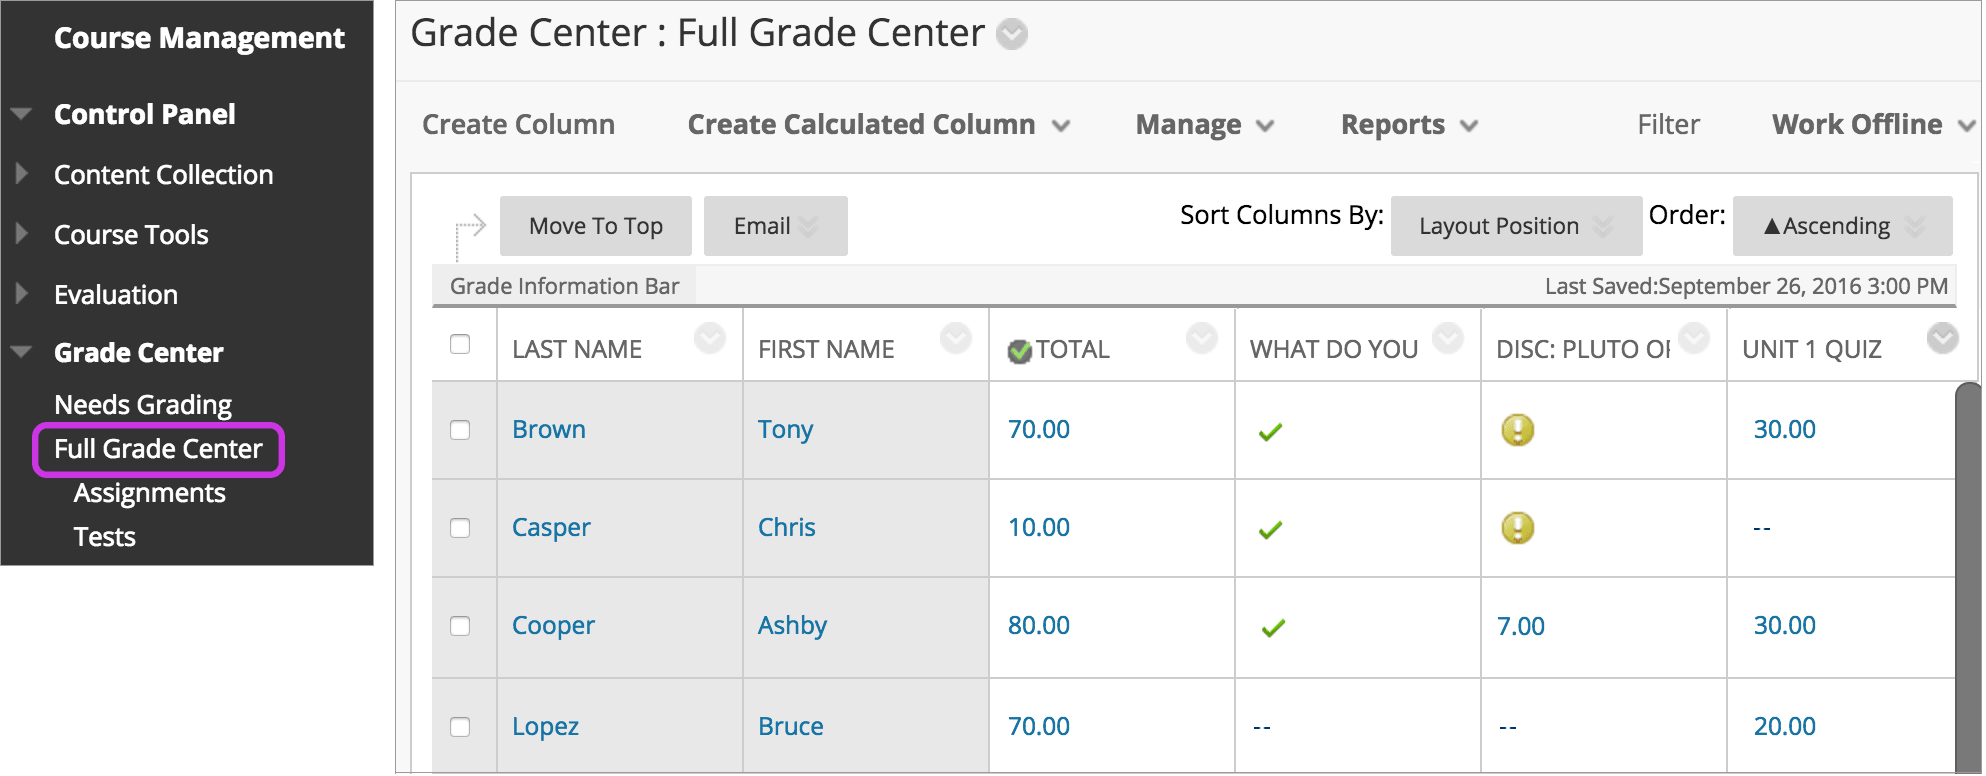
Full
AnswerHow do I add a picture to my blackboard profile?
Nov 29, 2021 · https://stockton.edu/blackboard-tutorial/instructor-tutorials/student-photo-roster.html. The Student Photo Roster is a custom Blackboard building block created by Computer Services. It will show instructors the ID photo of each student enrolled within the course. Use the steps below … Step 3 – View your Roster. View your Roster. 10. Profile Photos …
How do I upload a profile photo for a student?
Dec 22, 2021 · On the personal information page, click ‘Personalize My Settings. ‘ Select the ‘Use custom avatar image’ on the ‘Personalize My Settings’ page, browse your computer for your picture, and click ‘Submit’ once uploaded. Your new avatar image should now appear next to your name in the Global Navigation menu. 4.
How do I enable high contrast in Blackboard?
Dec 23, 2020 · By default, a student's profile photo is only available to instructors. This can be changed to "Anyone in my courses" on the profile page. How to Upload Your Profile Photo Step 1. After logging in, select your name on the left menu. Click the profile image to upload a photo. Note: You cannot edit or crop uploaded profile images in Blackboard.
How do I edit a test/pool in Blackboard?
Beginning this Spring, Blackboard has ended support for their Social Learning Profiles tool, but you can still upload a picture that appears throughout the system. Here’s Click on your name in the Global Navigation menu located at the upper right corner of the page and select ‘Settings > Personal Information’ on the resulting menu.

How do I see my student pictures on blackboard?
How to Access Class Photo RosterEnter your course in Blackboard.Under Control Panel, click the Course Tools drop down.Click Class Photo Roster.Jun 24, 2019
Where is the photo roster in Blackboard?
Go to the Control Panel, select Course Tools, and click More Tools (GW). 3. On the More Tools page, click View Photo Roster.
How do I embed an image in Blackboard?
To add an image in a Blackboard post:Click the Add Image button to see the Insert/Edit Images screen.Click Browse My Computer.Select your image to add to Blackboard. Try to keep your images small. ( ... Enter a Title and Description.You can also adjust some aspects of the image from the Appearance tab.Click Insert to finish.
What is a photo roster?
The Photo Roster tool is a Yale-developed tool available to Instructors and TAs to provide enhanced features that are missing from the Canvas People tool, such as providing information like their photo, major, year, college, and email address.Nov 23, 2021
How do I see other students on Blackboard?
Enter your course by clicking its name in the My Courses module. In the Control Panel, select Users and Groups, then Users. Your class roster will appear, listing all students, instructors, and teaching assistants.Jan 3, 2022
How do I see my classmates on Blackboard?
0:351:36How to find classmates in blackboard - YouTubeYouTubeStart of suggested clipEnd of suggested clipGo to the courses tab. And choose the class whose wasp whose roster you wish to examine. On the leftMoreGo to the courses tab. And choose the class whose wasp whose roster you wish to examine. On the left hand side of the page click tools and scroll down to find the listed feature. Roster.
How do I print student photos in canvas?
Print Your Roster with Student PhotosOpen your course in Canvas.Click People on the course navigation menu at the left. ... On the People screen, click the ellipsis (three dots) in the top right. ... Select Print View to preview your roster. ... Click the Print button in the top left of the new pop-up window to print your roster.Aug 26, 2019
What is a blackboard photo?
Blackboard’s photo roster tool was created by Princeton University and was designed to assist faculty in identifying students. For this reason, the photo roster only displays photos of students. The photo roster does not display photos of faculty, staff, guests, or people who have not yet submitted an ID photo to USCCard Services.
Who can see roster photos?
Photo roster photos are visible only to instructors and instructional staff. They are confidential records ( F.E.R.P.A. protected) and may not be disclosed to third parties without written permission of the student.
Uploading a Profile Picture, Part 1
Zoom: Image of the Blackboard Learn Header with the user's name in the upper right hand corner outlined, and users are instructed to click on the name.
Uploading a Profile Picture, Part 2
The notification panel will appear onscreen, similar to the image above. At the bottom of the page, click the Settings button.
Uploading a Profile Picture, Part 4
Zoom: Image shows the Personal Information screen, with the Personalize My Settings link highlighted, with instructions to click on the link.
Uploading a Profile Picture, Part 5
Zoom: This image has the following steps annotated: 1.Display Options: Under Display Options, choose the option labeled "Use Custom Avatar Image"2.Attach File: Click Browse My Computer to upload an image and select a file from your computer.3.When finished, click Submit at the bottom of the screen.
Confirmation
A purple status bar with the message: Success: My Settings updated will appear at the top of the screen, and the selected image will now appear next to your name in Blackboard.
Rearrange modules on the homepage
After I log in, I'm taken to the Blackboard homepage where there is lots of university information organized into modules. However, some of the ways that modules are arranged make no sense to me, or put information that I don't need at the top of the screen.
Add relevant modules that I use often
One of my favorite ways that I customize my Blackboard homepage is by adding relevant modules that I use often. Many of my friends are often surprised to find out that they can get a notepad module for writing quick notes, or that there's a way to get updates on campus construction.
Collapse or remove modules
It's easy to get carried away with adding new modules and to forget the original goal of making Blackboard less cluttered and easier to see. Luckily, most modules can be collapsed or removed with no issues!
Configure MyTab
Instead of having a bunch of modules on one page, I prefer to use the MyTab page as a place for additional modules that I can customize further. For me, MyTab currently has a notepad, calculator, and research links so I can easily access information for my assignments.
Add custom URLs to course list
Within the Course List module, I can add up to 5 custom website links for accessing courses that are hosted on another website, or websites I visit often for my classes. For example, I have a link to my favorite online IDE so that I can easily open it in a new tab and work with code alongside the view of my course.
Display course menu in a new window
One of my professors loved to put a ton of information in the course menu, which I found somewhat difficult to read with large text. Instead of trying to magnify a relatively small amount of information on the page, I prefer to open the course menu in a new window, so that all of the information fits on the screen and is easier to magnify.
Add high contrast settings
People who use high contrast displays or inverted screens may benefit from adding high contrast settings that override the custom Blackboard color palettes.
Adding an Image to a Test Question
Before anything, import the test or pool into Blackboard. (You may create a marker in the test items with images to make them easily identifiable.)
Click the Question Settings box
In the Images, Files, and Web Links section check the box beside Add images, files, and web links to answers.
Step 1: Edit Mode
Edit Mode is a slider located near the top right of the page. This gives you the opportunity to see exactly what your students see (Edit Mode Off) when they log in.
Step 2: Main Page
This is the first page your students will see when they log into Blackboard and view the FIG Class Page. By default, this also serves as the Announcement Page. Any Announcements you create will appear on this page for the convenience of your students.
Step 3: Announcements
By clicking on the “Create Announcement” button from the main page, you are brought to the Create Announcement page. This is most often used for text and/or link comments that your students simply need to read. Information about assignments or course content will be discussed on later slides.
Step 4: Time Options
Time Options give you opportunity to tailor your Announcements by date. You can create a future announcement that will not appear to students until a certain date and remove itself from view at a certain time as well. These options are available for all Announcements, Assignments and other items you post on Blackboard.
Step 5: Syllabus
By clicking on the Syllabus button on the left list you are brought to the Syllabus page.
Step 6: Instructor Info
By clicking on the Instructor Info button on the left list you are brought to the Contacts page. This is the best place to post the contact information for both you and your CoFac. (be sure to double check with your CoFac to see what is the most appropriate way for students to contact them if necessary).
Step 7: Course Content
By clicking on the Course Content button on the left list you are brought to the Course Content page. This is a good place to post anything that does not fit as an Announcement or an Assignment. Many professors post their class notes, web links and other useful files on this page.
Popular Posts:
- 1. what is blackboard
- 2. how to delete a discussion post on blackboard
- 3. how to unsubmit an assignment on blackboard
- 4. how to delete a thread on blackboard
- 5. how to resubmit an assignment in blackboard
- 6. how to double space on blackboard
- 7. how to use blackboard
- 8. how to edit a discussion post on blackboard
- 9. how to submit on blackboard
- 10. how to delete a submission on blackboard