How to Add an Image to Blackboard
- Log into Blackboard and navigate to where you would like to add the image,...
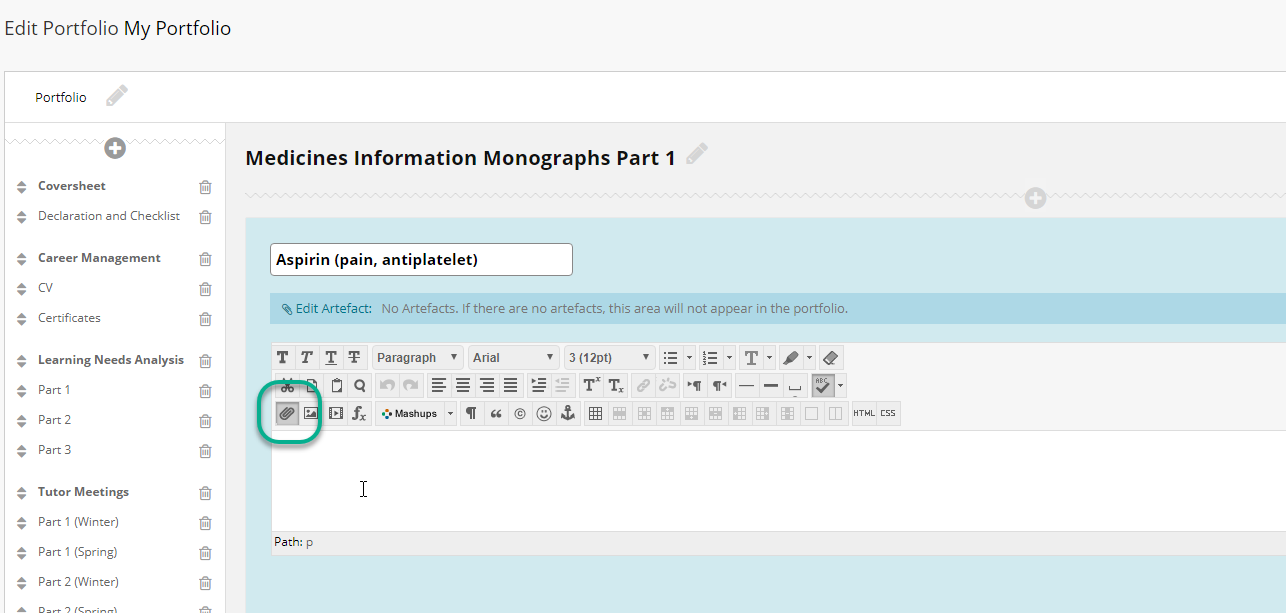
- In the content editor toolbar, click the Insert/Edit Image icon...
- Under the General tab, click the " Browse My Computer " button to navigate to...
- Please remember to add an Image Description and a Title to...
To add an image in a Blackboard post:
- Click the Add Image button to see the Insert/Edit Images screen.
- Click Browse My Computer.
- Select your image to add to Blackboard. Try to keep your images small. ( ...
- Enter a Title and Description.
- You can also adjust some aspects of the image from the Appearance tab.
- Click Insert to finish.
How do I add an image to Blackboard?
Dec 20, 2020 · Follow these instructions to add an image to any Blackboard item: Log into Blackboard and navigate to where you would like to add the image, such as in a discussion or an assignment. In the Message area, click + to add content. If you do not see the + button click the three dots in the top right ...
How to insert an image into a discussion board post?
Adding Vertical or Horizontal Space will add space around the image. (10-20 pixels is recommended) Click Insert when satisfied. To edit an inserted image, right-click the image and select Image from the popup menu. How to Insert an …
What should I put in my blackboard profile?
Oct 21, 2021 · https://help.blackboard.com/Learn/Student/Ultra/Add_and_Format_Content/Add_Files_Images_Video_and_Audio. Select Add Content > Insert/Edit Image from Web. Type or paste an image URL to embed an image hosted online. You must use the http:// protocol. Include a … 3. Add an Image to an Item …
How do I add an image to my course?
Sep 27, 2021 · https://www.towson.edu/technology/training/blackboard/documents/test-add-images.pdf. Choose your question type from the list of options. 8. Enter the Question Text. 9. Within the Question Text, click on the Insert/Edit Image icon … 11. Add a picture to an anouncement or item | Blackboard Help. Add a picture to an anouncement or item
No profile icon appears in the menu
If you don't see the empty profile icon in the menu, your institution hasn't turned on the profile tool.
Profile
On the Edit My Blackboard Profile page in the right panel, select Change Picture to upload an image from your computer.
Wordwrapping text around an image
When you want to include an image in the text of an announcement or item, it is desireable to have the text wordwrap around the image as shown. The following steps show how to make that happen. It will require editing some HTML, but it is fairly simple.
Your picture is now in line with the paragraph of text
Your picture is now in lign with the paragraph of text – this is NOT what we want.
Edit the img tag in the HTML
If you inserted you image before the very first line of text – the top of the code should read something like this:
Bonus step
If you are comfortable editing the HTML you can also add this to the “style” field inside your img tag: style=”padding:10px;” as shown below. There is a colon : after padding and a semi-colon after 10px. This will add ten pixels of padding around your image – you can change the number 10 to increase or decrease the padding.

Popular Posts:
- 1. what is blackboard
- 2. how to delete a discussion post on blackboard
- 3. how to unsubmit an assignment on blackboard
- 4. how to delete a thread on blackboard
- 5. how to resubmit an assignment in blackboard
- 6. how to double space on blackboard
- 7. how to use blackboard
- 8. how to edit a discussion post on blackboard
- 9. how to submit on blackboard
- 10. how to delete a submission on blackboard