Upload a question file.
- From the test, survey, or pool, select Upload Questions.
- Select Browse to locate the file.
- Optionally, type a number in the Points per question box to set a default value for all questions. If left blank, all questions will be set to a value ...
- Select Submit and OK. The questions appear in the test, survey, or pool. You can edit and reorder the questions.
Upload a question file
- From the test, survey, or pool, select Upload Questions.
- Select Browse to locate the file.
- Optionally, type a number in the Points per question box to set a default value for all questions. If left blank, all questions will be set to a value of zero. ...
- Select Submit and OK.
How do I upload test questions to Blackboard?
Upload a question file. From the test, survey, or pool, select Upload Questions. Select Browse to locate the file. Optionally, type a number in the Points per question box to set a default value for all questions. If left blank, all questions will be set to a value ... Select Submit and OK. The ...
How do I import a test or pool into Blackboard?
IMPORT A TEST 1. From the course’s control panel, click Course Tools, then click Tests, Surveys, and Pools. 2. Click the Tests link. 3. Click the Import Test button. 4. Click Browse My Computer. 5. A new window will open. Locate and select the exported test file …
How do I upload a text file to Blackboard?
Oct 05, 2021 · Visit the Blackboard Test Question Formatter to create exam files that are easily imported into Blackboard …. Copy the questions from your exam file, and paste it into the Paste Exam Below area. …. Click “Upload Questions”. 11. Blackboard: Importing an Existing Test, Quiz, or …
How do I use a test generator in Blackboard?
Use questions in a test. In your course, go to Course Tools > Tests, Surveys, Pools > Tests. Select Tests > Build Test. Type a name and optional description or instructions. Select Submit. In the Reuse Questions menu, select Find Questions. You’re brought to …

How do I upload a quiz to Blackboard?
Import a test, survey, or poolOn the Control Panel, expand the Course Tools section and select Tests, Surveys, and Pools.On the Tests, Surveys, and Pools page, select the item you want to import, such as Pools.Select Import.More items...
Can you import a test from Word into Blackboard?
Test generators allow you to create test questions and answers in Word, then upload them into a Blackboard Pool all at once.Apr 19, 2021
How do I upload a Word document to Blackboard?
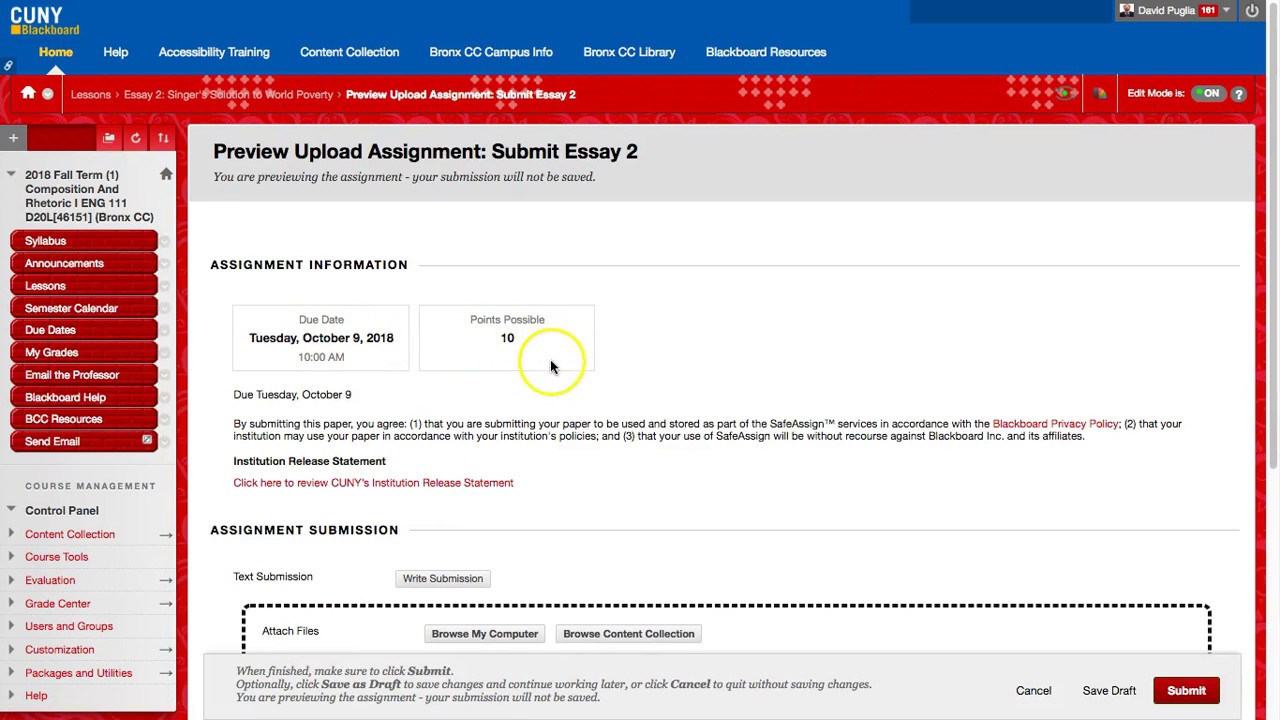
Click on the Name of the Assignment. A new screen will load where you will see further instructions, a due date, points possible, an area to type comments, and the ability to attach a file. When you are ready to submit an Assignment, click Browse My Computer to attach your file, then click Open to attach the file.
How do I use a test generator in Blackboard?
Using Test Generators* You may use them at your own risk. The generators work in a similar way: prepare questions in Word or Notepad, copy the questions, paste them in the exam generator text box, and click a button to receive a file that has been prepared for immediate import or upload into Blackboard.
Watch a video about exporting and importing tests and surveys
The following narrated video provides a visual and auditory representation of some of the information included on this page. For a detailed description of what is portrayed in the video,
Import a test, survey, or pool
On the Control Panel, expand the Course Tools section and select Tests, Surveys, and Pools.
Troubleshooting
You can import only test, survey, and pool ZIP files exported from Blackboard Learn.
About QTI packages
Instructors and course builders may rely on third-party content to build their curriculum and complement materials such as textbooks. To help ensure compatibility, publishers and other content creators develop this material using industry standards.
Import a QTI package
You’ll need to import QTI packages into your course as question pools. After you import the questions, you can use them in assessments.
Export a QTI package
Just like they’re imported into Blackboard Learn, QTI packages are exported as question pools. You need to move questions from an assessment to a question pool to export the QTI package.
1. Create a New File, Preferably with Excel
The process begins by creating a tab delimited text file. There are many ways to go about this, you could type in MSWord, hitting the tab key between sections, then saving as a text file or work directly in Notepad or Textpad. I find the easiest way is to work in MS Excel, where the columns provide clear guidance on where the tab should fall.
2. Insert a Column for Question Type
Start the spreadsheet with a column for the question type indicator. These codes tell Blackboard what type of question to expect on that row. The indicators are fairly logical: MC for multiple choice, TF for true/false, and ESS for essay. A complete list of all the codes can be found on this Blackboard help page.
3. Insert Columns for Test Questions and Answers
In the column after that type your test question. The next column begins the answer. These are coded differently for the different question types. Going back to the examples above, multiple choice (i.e. “MC” in Blackboard code) questions are entered followed by a column for correct or incorrect.
4. Save as a Text (.txt) File
When you’ve finished entering all the questions, save the file as a text file. The option to look for in the “Save as type” box is “Text (Tab delimited) *.txt”. When you select this choice MS Excel will warn you that the features of a text file are different from those of an Excel file. Ignore that warning and save the file.
5. Upload Your Text File to Blackboard
Now it’s time to go to Blackboard and upload that file. Here are the steps:
Popular Posts:
- 1. what is blackboard
- 2. how to delete a discussion post on blackboard
- 3. how to unsubmit an assignment on blackboard
- 4. how to delete a thread on blackboard
- 5. how to resubmit an assignment in blackboard
- 6. how to double space on blackboard
- 7. how to use blackboard
- 8. how to edit a discussion post on blackboard
- 9. how to submit on blackboard
- 10. how to delete a submission on blackboard