Full Answer
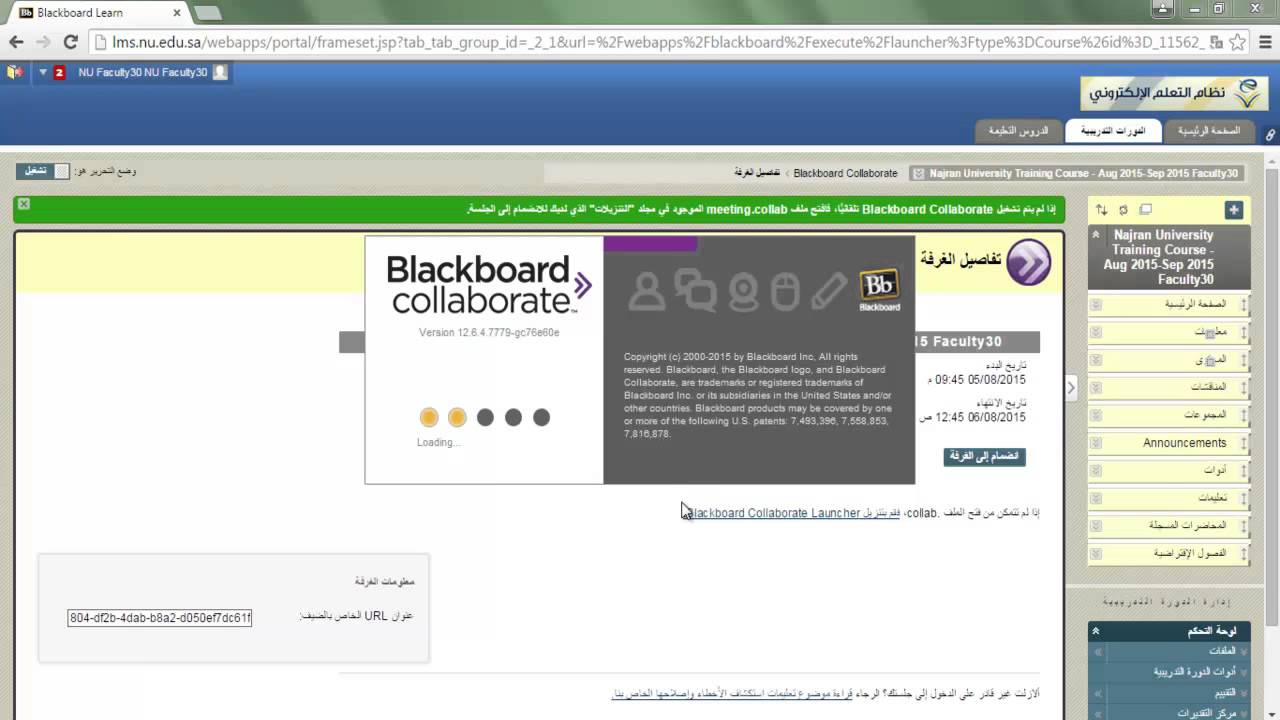
How do I get Started with Blackboard Collaborate on a Mac?
Session Settings. Select the checkbox next to Hide profanity in chat messages. End the current session. Start a new session to apply the changed setting. Changes will also apply to subsequent session recordings. Reloading the session is not sufficient.
Can I change the default course settings in Blackboard Learn?
Jun 13, 2021 · Customizing the Course Display and Settings for Blackboard Courses … the default menu view, default content view, course entry point, and course banner) … On the Properties page, the instructor can change the course classification, course. 5. Editing Blackboard Collaborate Ultra Settings – Editing …
How do I change the connection speed in Blackboard Collaborate?
Set Your Connection Speed. Open the Preferences window: From the Edit menu, click Preferences (Windows). From the Blackboard Collaborate menu, click Preferences (Mac OS X).
How can I improve security of collaborate integrations in Blackboard?
Default notification settings. On the Administrator Panel in the Courses section, select Course Settings.Select Default Notification Settings.. You can use Bulk Notification Settings to change users' default options for all notifications within a particular distribution method all at once. Use the Settings section to change users' default options for individual notification types.
How do I change settings on Blackboard Collaborate?
Settings you can change during a session If you want to change settings during a session, open the Collaborate panel, select My Settings, and open Session Settings.
Where is my settings on Blackboard Collaborate?
Access My Settings From the Collaborate panel, go to the My Settings tab panel. Spacebar or select My Settings tab panel to open.
How do you delete a Blackboard Collaborate whiteboard?
Participants will not have this tool. In order for a participant to erase their own annotations they will need to select the object using the selection tool and then tap the delete key on their keyboard.Apr 1, 2020
How do you use the whiteboard in Blackboard Collaborate Ultra?
0:404:00Using the Whiteboard in Blackboard Collaborate - YouTubeYouTubeStart of suggested clipEnd of suggested clipSo from the collaborate panel which can be accessed in the bottom right hand corner. We need toMoreSo from the collaborate panel which can be accessed in the bottom right hand corner. We need to choose the share content option and then select the share blank. Whiteboard.
Which browser is best for Blackboard Collaborate?
For anyone serving in the role of Moderator or Presenter in a Collaborate conference, Blackboard recommends using either Google Chrome or Mozilla Firefox. As of now, these are the only browsers that support WebRTC (Real-Time Conferencing) technology and Collaborate's Share Application feature.
How do I change my moderator in Blackboard Collaborate?
From the list of Sessions, find a session. Select Session options and Edit settings. Select Presenter or Moderator in the Guest Role menu.
How do you pull up a Whiteboard on blackboard?
To view the Whiteboard controls click the second icon down from the top left of the page. It looks like a page with a magnifying glass. The four controls are the Zoom In and Zoom out icons, the “Fit Screen” icon, and the “actual size” icon.Dec 7, 2017
Where is the Whiteboard in Blackboard Collaborate?
Whiteboard Screen and Tools This is the blank Whiteboard and the Whiteboard Tools are located in the upper left-hand corner of the screen. The Whiteboard Tools consist of: Selection Tool: Use the arrow to select an object on the Whiteboard. After you select it you can resize, move, and delete it.May 4, 2021
Can students write on the Whiteboard in Blackboard Collaborate?
The Whiteboard is the most commonly used (and default) mode of the Blackboard Collaborate web conferencing Content area. It is used for giving presentations (e.g., PowerPoint slides) and for collaboration between session attendees, who can interact by displaying images, writing, or drawing.Jan 6, 2021
Does Blackboard have a Whiteboard feature?
The Whiteboard is the most commonly used (and default) mode of the Blackboard Collaborate web conferencing Content area. It is used for giving presentations (e.g., PowerPoint slides) and for collaboration between session attendees, who can interact by displaying images, writing, or drawing.
How do you use pointers in Blackboard?
Pointer: Guide your attendees' attention to the main points of your content. Select Pointer from the toolbar and start moving your cursor to what you want to highlight. All attendees will see your movements in real time. To stop pointing, select the Pointer button again or any other tool.
How do I share my screen on Blackboard Collaborate?
Answer Go to the third icon (featuring an arrow) in the Collaborate panel (bottom left of the screen). Select Share Application/Screen. Select Entire Screen. ... If you have multiple screens, select the thumbnail of the screen you wish to share and click the Share button.More items...•Sep 23, 2021
How to use grade history in Blackboard?
On the Course Settings page, select Grade Security Settings. On the Grade Security Settings page for Enable Grade History, select Yes to use grade history throughout Blackboard Learn (Recommended).
How many default images can you set in a course?
You can set three default images to appear in standard locations in courses. Images are not required for courses to display properly. If you do not set default images and no images are included when a course is created, the course ignores the images areas and displays only the course areas.
What is an icon theme?
Icon themes are sets of icons that identify folders, documents, and other items within Blackboard Learn. Icons make it easy for users to navigate through Blackboard Learn and to identify important information quickly.
How to limit course availability?
To limit the course availability to specific dates, select Select Dates and provide a Start Date and End Date. To limit the course availability to a specific number of days after a student enrolls, select Days from the Date of Enrollment and provide the number of days .
What is content area?
Content areas are containers in a course that users can access from the course menu. Adding a default content area creates a blank content area and a corresponding item in the course menu. It does not include content or course materials.
What is a grade schema?
Grading schemas convert raw numeric scores, such as 88 points out of 100, to specific grade displays, such as B+ or Pass. When students view their grades, they see the grade display that corresponds to their numeric score.
Can you change your course settings?
You can change the default course settings at any time. These changes apply to new courses created after the change. Existing courses do not update their settings when the default settings change. Any changes made to course settings in an individual course override the default values for that course.
How to change settings in a session?
If you want to change settings during a session, open the Collaborate panel, select My Settings, and open Session Settings. Only show moderator profile pictures. Gallery view. Participant permissions.
What is session settings?
Session Settings lets you control what you want to allow in your session. Some settings you need to set before the session begins. Other settings you can change any time before or during the session.
How many attendees can you see on a gallery view?
Gallery view lets you see the most students at one time. With this view you can see up to 25 attendees on a page. 25 is the optimum number of videos you can show on a page and still see enough detail for visual non-verbal feedback.
What is a guest link?
When you allow guest access, a guest link is available for the session. This link is a public link that can be used and shared by anyone who has it.
What happens if someone uses inappropriate words in the chat?
If someone uses inappropriate words in the chat, those words can be filtered out in both the live session and the recording. The words are replaced with a series of stars.
Can you change permissions for just one participant?
You can change participant permissions any time before or during the session. These settings turn the permission on or off for all participants. You can't change permissions for just one participant. If you want certain attendees to have different permissions, change their role.
Can moderators see private chats?
An alert appears at the top of the private chat channel informing attendees that the chat is being supervised. If you don't select it , you don't see the private chat channels.
What happens if you don't use the default microphone?
If you select Use System Default Device, your microphone changes each time you change your system default. If you do not select Use System Default Device, the default microphone is used in all future sessions-if it is available-until you make a change.
How to use a microphone on Mac?
Users on Mac OS X 10.5 and earlier must select a microphone option: 1 Single Talker: Headset or a microphone just for yourself. 2 Multiple Talkers: Single microphone for multiple talkers, such as when you are in a meeting room with others. This is the default.
Can you hear the wizard in a session?
You can join a session early to run the wizard. If you run it again during a session, you cannot hear any of the session's audio. Others will know you cannot hear them because the microphone icon appears next to your name in the Participants list.
Can you use a headset on Blackboard?
You can use your computer's built-in microphone and speakers. You can also add additional devices or use a headset that combines both the speaker and microphone devices. You can join a session early to run the wizard.
Popular Posts:
- 1. what is blackboard
- 2. how to delete a discussion post on blackboard
- 3. how to unsubmit an assignment on blackboard
- 4. how to delete a thread on blackboard
- 5. how to resubmit an assignment in blackboard
- 6. how to double space on blackboard
- 7. how to use blackboard
- 8. how to edit a discussion post on blackboard
- 9. how to submit on blackboard
- 10. how to delete a submission on blackboard