To get to the recordings screen, expand the Blackboard menu by clicking on the menu button in the left of the top bar in the Blackboard area. Click on Recordings. If the recording that you just made does not appear, wait and then click on Blackboard Collaborate Ultra again to refresh the view.
It takes at least as long as it took to run the session to make the recording, so there may be a delay after your session prior to it appearing in your course. To see if it is there: Go to Control Panel > Course Tools > Blackboard Collaborate. Click the Recordings tab.
Full
AnswerHow do I Find my recordings in access Blackboard Collaborate?
To see if it is there: Go to Control Panel > Course Tools > Blackboard Collaborate Click the Recordings tab Widen the date range if required
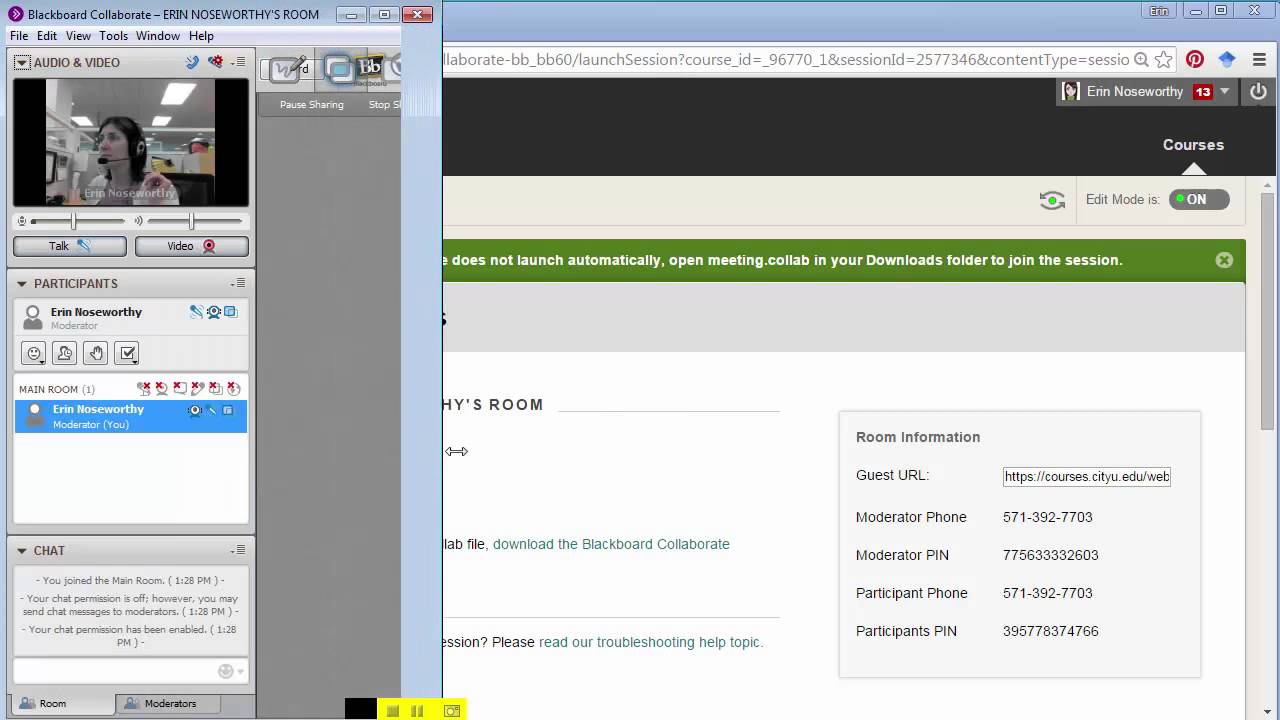
Why can't I launch my Blackboard Collaborate file?
With a keyboard press Shift + Left arrow or Shift + Right arrow to repeat or skip the recording by 10 seconds. Volume: With your keyboard, press the Up and Down arrow keys to increase and decrease the volume by 5%. Playback speed: Choose between a range of speeds for the recording playback: 0.5x, 0.75x, 1x, 1.25, 1.5, 2x.
How do I condense periods of inactivity in Blackboard Collaborate?
In the Select Helper Application window, select Blackboard Collaborate Launcher. Clear the cache If you installed the launcher and set the file association but are still having problems launching your .collab file, try clearing the launcher's Java cache. Open the launcher application. Open the Advanced tab and select Clear Cache.
Where can I find collaborate recordings in my course?
Feb 28, 2018 · Open the menu in the upper left-hand corner, and select Recordings. If you don’t see the recording you want, click Recent Recordings and select Recordings In A Range. Enter a date range. To the right of the recording you want, click the three dots in a circle icon to access Recording options, and select Download.
How long does it take for a Blackboard Collaborate recording to show up?
Click on the menu on the left hand side and click on recordings. Be aware that your recording will not show up automatically. It will take between 10 minutes to an hour after recording to see your recording pop up here, so plan accordingly.
Where is my Blackboard Collaborate recording?
You can view recordings in courses you are enrolled in. You may be able to download recordings. Moderators must allow session recording downloads for each session. Go to Collaborate, open the Menu, and select Recordings or View all recordings.
Do Blackboard Collaborate recordings disappear?
If you forget to stop the recording it will automatically stop when all of the moderators have left the session. The recording will not be discarded.Aug 4, 2021
Why is my Blackboard Collaborate video not working?
Check that your browser is fully up-to-date. Check the browser's microphone and webcam settings to make sure the correct input is selected and that Collaborate Ultra has not been blocked. Clear your browser's cache. Make sure your browser allows third-party cookies.Jan 29, 2021
How do I download a Blackboard Collaborate recording?
Go to Recordings and click on the Recording Options (ellipses sign) adjacent to the recording you wish to download. 6. Click Download. After the download (MP4) has completed, look in your Downloads folder on your computer for the downloaded session.
How do I upload a recording to Blackboard Collaborate?
Open your course in Blackboard. On the left navigation area, click on “Collaborate Ultra”. Click Blackboard Collaborate Ultra”. ... Click on the “Share Content” icon. Click on the “Share Files” icon, then click on the “Add files Here”. ... Click on “Start Recording” Once you start a recording you may not pause that recording.
How do I recover Blackboard Collaborate recordings?
Accessing RecordingsAccess the Course Collaborate Page. Recordings can be found on the course Collaborate page. ... Open the Collaborate Page Menu. Click the menu button in the upper left corner.Click the Recordings Link. When the menu expands, click the Recordings link.Feb 23, 2022
Does Blackboard Collaborate record session?
You can easily record a Session Blackboard Collaborate Ultra so that participants can review the Session at a later time or it can be viewed by someone who was unable to attend the Session. Note: Only the main room will be recorded.Sep 13, 2020
How do I enable video on Blackboard Collaborate?
Select a CameraOpen the Preferences window: From the Edit menu, click Preferences (Windows). ... In the left panel of the Preferences window, click Camera Settings in the Audio/Video section.Select a camera from the Select the camera to use drop-down list.
How do you view videos on Blackboard Collaborate?
Share audio and video streams and filesFrom a Chrome browser, open the Collaborate panel and select the Share Content tab.Select Share Application/Screen.Select the Chrome Tab option. ... Select the Share audio check box.Choose the tab you want to share from the list.Select Share.
Why is Blackboard Collaborate not working on my laptop?
Try clearing your browser cache, and reloading the session. Restart your computer. Try using Firefox instead of Chrome. Try dialling into the session using your phone.
What happens when you stop recording?
When you stop a recording, you will not maintain your current place in the recording. The recording returns to the beginning. From the Playback menu, point to Player and click Stop.
Can breakout rooms be recorded?
Anything that occurs in a breakout room is not recorded. You can start, stop, pause, and resume recording at any time during a session. You also can erase a recording and start over. Session creators can set sessions to record automatically. Then, you cannot start, stop, or erase the recording.
Can a moderator record a session?
Moderators can record a session to play later or save for archival purposes. You can provide a link to the recording for those who missed or want to review the session. Users may have opportunities to interact with a recording.
How do I find the recordings?
You can view recordings in courses you are enrolled in. You may be able to download recordings. Moderators must allow session recording downloads for each session.
Recording player
The recording player has the same look and feel as your Collaborate session. There is a Recording menu similar to the Session menu in your live sessions and recording playback controls.
Chat messages in recordings
Open the Chat panel at the bottom right of your screen to see the complete chat history of the recorded session.
Download recordings and transcripts
If the moderator has allowed session recording downloads, you can download recordings and transcripts from the recording player Recording menu.
Where is the Blackboard Collaborate Launcher?
On Mac: The launcher is called Blackboard Collaborate Launcher. The default installation location is your Downloads folder. However, when opening a .collab file, you had the option to move it to your Applications folder instead, so check there too. If you do not have the launcher, install it.
Can you open a.collab file?
Your computer may not know what application is required to open .collab files. Normally, once the launcher is installed, the file association between it and .collab files is already established. However, if the association was not made, you can make it either through your operating system or, if a Firefox user, through your browser.
How to download Blackboard Collaborate?
If you would like to keep any of your Collaborate recordings, you should download them before the end of Spring 2018. You can download recordings from Collaborate using the following steps: 1 Access Blackboard Collaborate within your course. 2 Open the menu in the upper left-hand corner, and select Recordings. 3 If you don’t see the recording you want, click Recent Recordings and select Recordings In A Range. Enter a date range. 4 To the right of the recording you want, click the three dots in a circle icon to access Recording options, and select Download. 5 Save the recording to a location on your computer.
Is Zoom available for instructors?
Zoom is now available for instructors to use for online meetings and synchronous class sessions. You can learn more about Zoom at Zoom Video Conferencing ». . If you would like to keep any of your Collaborate recordings, you should download them before the end of Spring 2018.
Access the Course Collaborate Page
Recordings can be found on the course Collaborate page. Therefore, navigate to this page by clicking the link to the Collaborate page that you created.
Search for Recordings
By default, only recent recordings appear on the Recordings page. To search for recordings that are not recent, (1) click on Filter by: Show Recent Recordings menu and select (2) Recordings in a Range
Accessing a Recording
You will see a list of recordings. To see additional recordings, use the page buttons at the bottom to navigate between pages. To view a recording now, click on the recording name. To view additional options, click on the Options menu for the desired recording.
Popular Posts:
- 1. what is blackboard
- 2. how to delete a discussion post on blackboard
- 3. how to unsubmit an assignment on blackboard
- 4. how to delete a thread on blackboard
- 5. how to resubmit an assignment in blackboard
- 6. how to double space on blackboard
- 7. how to use blackboard
- 8. how to edit a discussion post on blackboard
- 9. how to submit on blackboard
- 10. how to delete a submission on blackboard